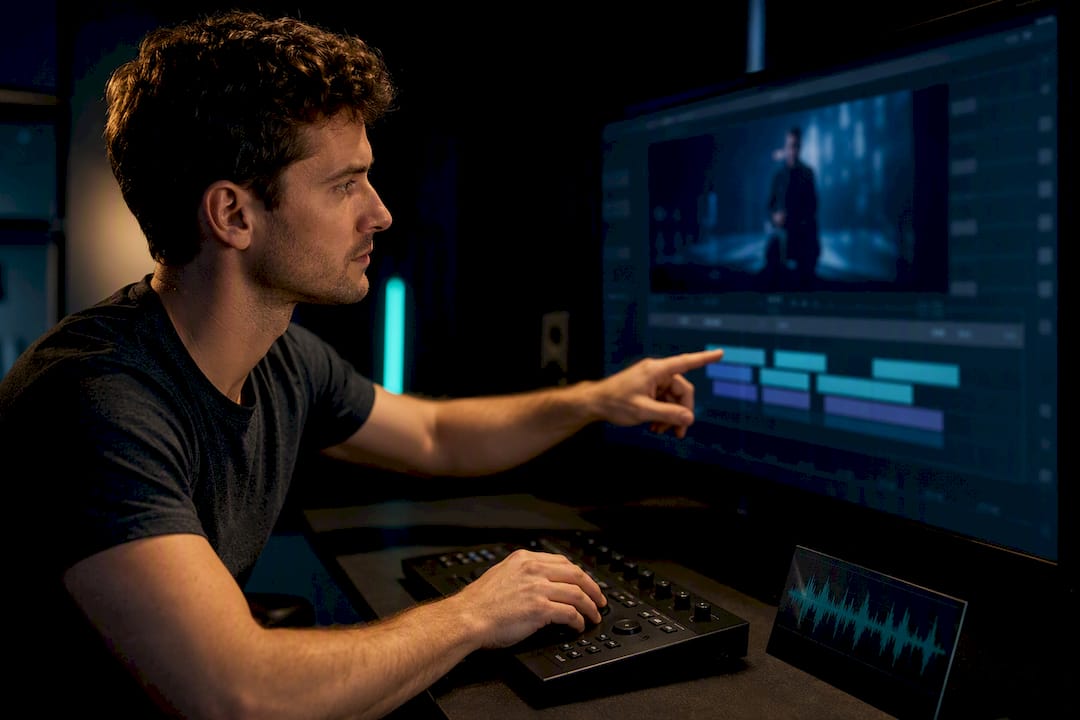
Choose LinkedIn auto captions, an SRT file or burned-in text. Follow upload and review steps without creating duplicate caption layers. Use a clip with names, punctuation and a change of speaker. Correct the transcript, watch the timing, and check readability on a phone. Export the subtitle format you actually need before paying for a plan.
Choose one readable caption presentation. LinkedIn supports reviewed auto captions and desktop SRT uploads. Burned-in text is optional; combining it with enabled closed captions can display duplicate text. Preview the result with captions on and off. An SRT file alone is not a guarantee of search indexing or screen-reader support. Sources: LinkedIn auto captions and SRT uploads.
Research guide. Vendor information and third-party reports are distinct from our own test results. See how we evaluate tools. We may earn a commission from qualifying purchases through affiliate links. Affiliate disclosure.
TL;DR:
- Auto captions are quick and suitable for low-stakes videos but often contain errors, especially with names, jargon, or multiple speakers.
- Captions should be limited to 5 to 10 words per block, timed within 2 to 4 seconds, and synced to speech within 100 milliseconds for best readability.
- Using bold sans-serif fonts with background boxes or outlines ensures captions remain clear and legible after LinkedIn’s compression.
- Manual review, timing adjustments, and proper formatting are essential, especially for high-value content, to avoid common caption mistakes.
- Burning captions into the video and uploading a matching SRT file provides both visibility during mute playback and accessibility for screen readers and search indexing.
Table of Contents
- How to Add Captions to LinkedIn Videos
- Caption Formatting and Timing That Actually Reads Well
- Accessibility Basics Every Caption Should Meet
- Use the directory to compare workflow options, then confirm current features and terms with the provider.
- Common Caption Mistakes and a Pre-Publish QA Pass
- What to Do After You Publish
- How to Evaluate This Workflow
- Find the Right Caption Tool Faster With TechVideoBlog
- Sources
- FAQ
How to Add Captions to LinkedIn Videos
LinkedIn gives you three paths to captioned video, and the right one depends on how much control you need over accuracy and appearance. Here’s how each works on desktop and mobile, plus when to reach for which.
- Upload your video. Start a post, click the video icon, and select your MP4. LinkedIn processes it before any captioning options appear, so give it a minute on longer files.
- Open the editor. Click the pencil or edit icon on the uploaded video thumbnail. This opens the video settings panel where captions live.
- Choose your caption method. You’ll see a toggle for auto captions and a separate option to upload an SRT file. Auto captions generate automatically once you flip the switch. SRT upload requires a file you’ve already created or exported from a caption editor.
- Review before you apply. If you’re using auto captions, scrub through the preview. LinkedIn’s speech recognition handles clean audio reasonably well but stumbles on names, jargon, and crosstalk, so check every line before hitting apply.
- Apply and publish. Once captions look right, click apply, then finish your post text and publish as usual.
On mobile, the flow is thinner. You’ll find a CC toggle within the video editing screen after upload, but SRT upload is not consistently available on the mobile app, so most creators handle captioning on desktop and treat mobile as playback only. Auto captions on mobile also default to English, which matters if your audience is international.
A quick note on file mechanics: LinkedIn expects MP4 video encoded with H.264 for video and AAC for audio. Caption files must be standard SRT. There isn’t a hard published cap on caption file size, but keep files clean and free of formatting characters that can break the parser. LinkedIn will accept SRT files during the composer flow reliably, and it remains the preferred closed-caption format over alternatives like VTT for this platform specifically.
For creators who want to skip manual SRT creation entirely, a best AI caption generator can transcribe and export a properly formatted file in minutes, which you then upload directly into the LinkedIn composer.
Caption Formatting and Timing That Actually Reads Well
Fix both and your captions become invisible in the best way, information nobody has to think about.
Block length and timing
- Keep each caption block to 5 to 10 words, matched to natural speech pauses rather than arbitrary character counts.
- Hold each block on screen for 2 to 4 seconds. Anything past 5 seconds and viewers either reread it out of boredom or lose the thread of what’s said next.
- Split long sentences into two or three blocks instead of cramming a full sentence into one. A run-on caption is as hard to read as a run-on sentence.
- Sync captions to the audio within roughly 100 milliseconds where your tool allows manual adjustment. Drift beyond that becomes noticeable and distracting, especially on interview-style content with pauses.
Font, size, and placement
Size your captions relative to frame height, not a fixed pixel number you copy from a template. For horizontal 1080-pixel-wide canvases, 44 to 60 pixels tends to hold up after LinkedIn’s compression pass.
Use a bold sans-serif typeface. Thin fonts and serif faces degrade badly once LinkedIn recompresses your upload, turning crisp edges into a blurry mess on mobile screens. Pair that bold font with either a background box or a thick outline stroke, since both styling choices survive compression better than plain white text with a soft shadow. This is one of the more overlooked details in caption design: what looks fine in your export preview can degrade noticeably after the platform reprocesses the file.
Placement matters just as much as size.
Style choices for a professional feed
Box backgrounds and bold outlines are the two styles that hold up reliably across devices and lighting conditions. Karaoke-style word-by-word highlighting looks energetic on entertainment content, but on a LinkedIn feed dominated by professional and B2B audiences, it reads as try-hard rather than polished. Save the flashy caption animations for platforms where that tone fits the audience.
Statistic Callout: Captioning best practices consistently point to the same range: 5 to 10 words per block, timed to natural speech cadence rather than fixed duration. That single rule fixes most of the readability complaints creators get in their comments.
Pro Tip: Export a test frame at your target font size and view it at actual phone resolution before you commit to a full render. A caption that looks perfectly readable on your 27-inch monitor can shrink to nearly illegible text on a 6-inch screen, and you won’t catch that mistake by eyeballing the editing timeline.
Accessibility Basics Every Caption Should Meet
Captions that only look good are not the same as captions that work for every viewer. Accessibility guidance built on WCAG principles asks for a few specific things: accurate transcription, clear speaker identification when multiple people talk, notes for meaningful non-speech audio (like “[applause]” or “[phone ringing]”), and captions synced closely enough to audio that meaning doesn’t drift.

Contrast matters just as much as accuracy. Aim for a contrast ratio of at least 4.5:1 between your caption text and its background, which is the standard threshold for normal-size text under WCAG guidance. On busy video backgrounds, a solid or semi-transparent box behind the text is often the only reliable way to hit that ratio consistently, since a thin outline alone can wash out against bright or high-motion footage.
Run this checklist before you publish:
- Transcript matches spoken audio with no dropped words or garbled names.
- Speaker changes are labeled if more than one person talks.
- Non-speech audio cues that carry meaning are noted in brackets.
- Caption timing tracks the audio within a few hundred milliseconds.
- Text contrast holds up against your busiest background frame, not just the calmest one.
| Accessibility Check | What to Verify | Fails If |
|---|---|---|
| Transcription accuracy | Names, jargon, numbers match spoken audio | Auto-caption errors go uncorrected |
| Contrast ratio | Text vs. background meets roughly 4.5:1 | Plain text with no box/outline on bright footage |
| Speaker identification | Multiple speakers are labeled | Viewer can’t tell who’s talking |
| Sync tolerance | Captions track audio closely | Text lags or leads spoken words |
How to Evaluate This Workflow
Use a clip with names, punctuation and a change of speaker. Correct the transcript, watch the timing, and check readability on a phone. Export the subtitle format you actually need before paying for a plan.
This is a suggested evaluation process, not a report of a completed TechVideoBlog benchmark.
Common Caption Mistakes and a Pre-Publish QA Pass
Most caption failures come down to a short list of repeat offenders, and every one of them is catchable before you hit publish.
- Font sized for desktop preview, then unreadable once compressed for mobile.
- Captions sitting in the bottom 12% of frame, covered by LinkedIn’s UI or reaction bar.
- Auto-generated captions published without a manual review, letting misspelled names and garbled jargon go live.
- No non-speech cues noted, so accessibility-dependent viewers miss meaningful sound cues like laughter or a phone ringing.
- SRT files never reuploaded after a video edit, leaving mismatched timing between the new cut and the old caption file.
Run this QA pass before every publish: preview the video on mute on both mobile and desktop, since layout and safe zones render differently on each. Check that no caption text sits inside a UI overlap zone. Confirm speaker tags and non-speech notes are present where needed. Toggle the CC option on and off to make sure the SRT actually loads and displays correctly.
Correct caption mistakes as soon as you find them. Burned-in text requires a new video export. For platform captions, check the editing options available on the published post rather than assuming every caption format can be replaced in place.
What to Do After You Publish
Captions do the heavy lifting inside the video, but a few moves around the post itself change how many people actually see it. Write a text caption that states the point in the first line, since LinkedIn truncates longer posts before the “see more” click. Add two or three hashtags that echo actual keywords from your video’s spoken content rather than generic industry tags everyone uses.
Your thumbnail and your first caption line should say roughly the same thing. When they contradict each other, viewers hesitate and often scroll past, which shows up as a drop in early watch time.
- Watch time and average view duration tell you whether your caption hook is landing in the first three seconds.
- Click-through rate on any CTA text tells you whether captions are clear enough to guide action without sound.
- A sudden drop-off at a specific timestamp usually means a caption timing or readability issue at that exact point, not a content problem.
How to Evaluate This Workflow
Use a clip with names, punctuation and a change of speaker. Correct the transcript, watch the timing, and check readability on a phone. Export the subtitle format you actually need before paying for a plan.
This is a suggested evaluation process, not a report of a completed TechVideoBlog benchmark.
Find the Right Caption Tool Faster With TechVideoBlog
Inside the directory, you’ll find caption generators sorted by speed and accuracy, editors built for frame-accurate timing, and full editing suites that export burned-in and SRT files in the same pass. Browse the AI captions and subtitles collection to compare options side by side before you commit to a monthly plan, and check current pricing against what the vendor actually charges rather than what their homepage advertises.
Sources
The steps and standards in this article draw on LinkedIn’s own help documentation for auto captions and SRT upload, the UCOP accessibility checklist for caption timing and block length, and practitioner guidance on SRT versus burned-in export for styling and safe-zone sizing. For a broader look at how aspect ratio affects caption placement across platforms, see this guide on social video aspect ratios.
- Auto captions for videos on LinkedIn | LinkedIn Help
- Captioning best practices (UCOP accessibility checklist)
- LinkedIn video captions: SRT upload or burned-in MP4 (2026)
FAQ
Can You Add Captions to a Video on LinkedIn?
Yes. LinkedIn supports auto-generated captions through its native tool, plus manual SRT upload through the desktop composer, and you can also burn captions directly into your video file before uploading.
What Is a Good Caption for a LinkedIn Video Post?
A strong LinkedIn video caption states your main point in the first line, since longer text gets truncated, and pairs with two or three hashtags that reflect actual keywords spoken in the video rather than generic tags.
Is It a Good Idea to Post Videos on LinkedIn?
Yes, especially with captions attached, since LinkedIn autoplays video muted by default, meaning captioned videos communicate their hook to viewers who never turn their sound on.
How Do You Transcribe a LinkedIn Video?
Run the video’s audio through an AI caption generator to produce a timestamped transcript, then manually review it for accuracy before exporting an SRT file or burning the text into the video. Tools in TechVideoBlog’s AI caption generator category handle this transcription step directly.
Does LinkedIn Support SRT Files for Captions?
Yes, LinkedIn’s desktop composer accepts SRT files as the standard closed-caption format, and creators should prefer SRT over other subtitle formats when uploading through the platform.