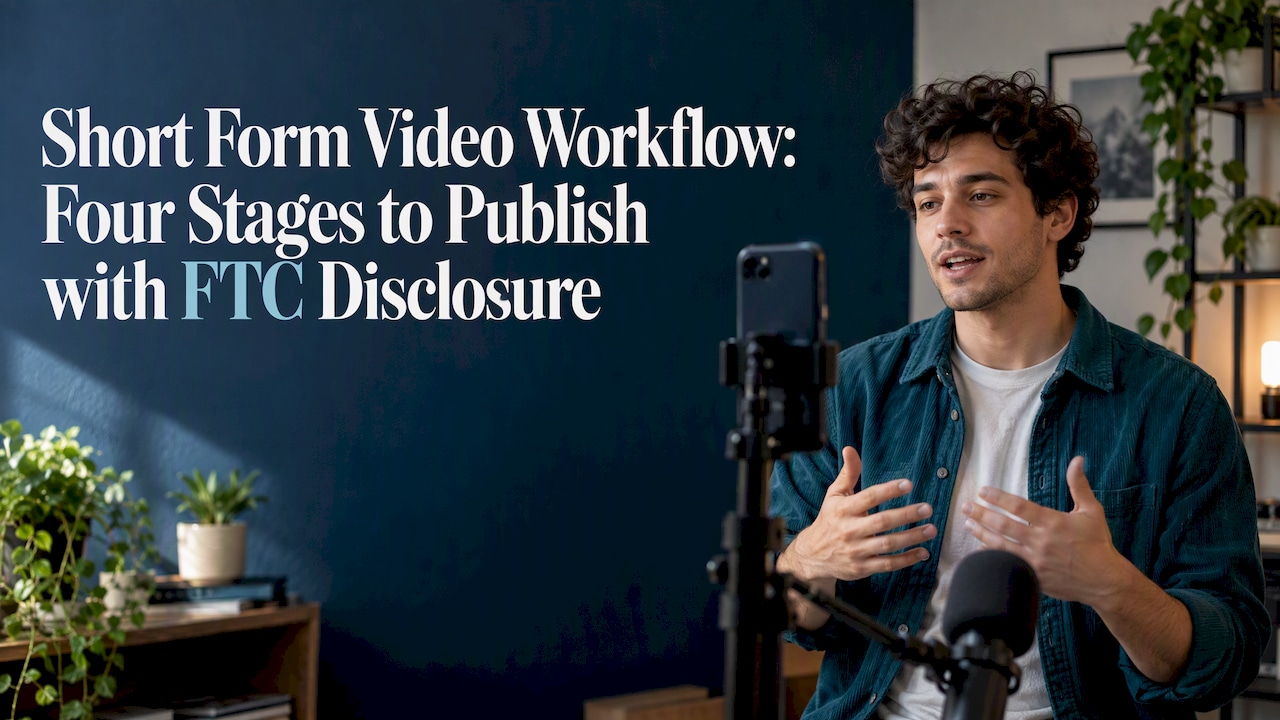
The short form video workflow to copy is a four-stage loop: Planning, Production, Post-production, Publishing. Keeping thinking work apart from execution work is what makes it fast and repeatable. To start today, write one hook line, set your phone to vertical, and record a single test clip. If a post is sponsored, the final edit must carry the FTC disclosure.
TL;DR:
- Plan each clip around one outcome, three spoken beats, one call to action, and a shot list of three to five labeled shots.
- Before recording, test room sound with headphones, keep faces and text clear of interface areas, capture a backup take, and organize files immediately.
- Edit by trimming dead air and removing off topic beats before cleaning audio and captions; viewers forgive plain visuals more readily than muffled speech.
- Add sponsorship disclosures inside the video as spoken words or on screen, since descriptions alone may not reach viewers who never open them.
- Choose tools by workload: mobile editors suit a few weekly clips, while desktop editors help batch creators reuse timelines and presets; review hooks and captions.
Table of Contents
- How do you plan short videos so recording stays fast?
- What should you check before and during recording?
- What is the fastest order for editing short videos?
- How do you publish short videos on the right platform settings?
- Which tools and templates does this workflow need?
- How do we test workflows, and what belongs in your final edit?
- How do AI tools fit into each stage of the workflow?
- How should you organize files for short form video projects?
- How do teams collaborate and give feedback on short videos?
- How do you optimize one video for different social platforms?
- What changes when you scale from solo to a small team?
- Where can you find pre-tested editors, caption tools, and presets?
- FAQ
- Sources
How do you plan short videos so recording stays fast?
The four-stage framing is widely used, and the planning stage is where most of the speed is won. Every decision you make before the camera rolls is one you will not have to make while editing. We treat planning as a desk job done in a separate block from recording, so ideas never compete with execution.
Start with a single outcome: what should the viewer know or do after watching? Then write a hook line that lands near the start. If you cannot say the payoff in one sentence, the clip is not ready to film.
A micro-script is enough for short clips. You do not need a full teleprompter page:
- Outcome line: one sentence describing what the viewer walks away with.
- Three beats: three bullets, each a single idea you can say in one breath.
- One CTA: a follow, a comment prompt, or a link, never all three.
- Shot list: three to five shots per clip, each labeled as A-roll, B-roll, or cutaway.
Batch your ideation. Give yourself a fixed block, say 45 minutes once a week, to generate topics and hooks, and keep it separate from your recording days. If you want a deeper look at calendar timeboxing, this content creation workflow guide covers the planning cadence in detail.
Pro Tip: Write the hook last, after the three beats exist. You will know what the clip actually delivers, and the hook gets sharper.
What should you check before and during recording?
Production is where re-shoots eat your week, so we run the same checklist every time. It takes only a short time and prevents most of the problems we see in post.
- Run an echo and mic check. Record a short sample of speech in the room, then play it back with headphones. Hard walls can make echo difficult to fix with caption tools or noise filters.
- Set vertical framing. Shoot vertically with your eyes positioned comfortably in the frame, and keep faces and key text clear of the bottom edge where platform buttons and captions sit.
- Hold the eye-line. Look at the lens, not your own preview. Prop the phone at eye height so you do not look down at the viewer.
- Light the face first. A window or a single soft lamp in front of you works as a key light. Add a fill from the opposite side if shadows are harsh, and a small back light only if you have one handy.
- Record a safety take. Capture a second audio track or a backup clip of your most important line, so one bad take does not kill the video.
- Name files as you go. Use a pattern like date_topic_take and drop everything into a single project folder before you stop for the day.
Treat the order as a loop you can run in your sleep. The goal is that production feels boring, because boring means predictable.
Pro Tip: Say your hook out loud before recording to warm up your voice.
What is the fastest order for editing short videos?
Efficient editing is mostly about sequence. Follow the same order on every clip and you stop second-guessing:
- Assemble: drop your best takes on the timeline in script order.
- Trim to the hook: cut dead air so the video delivers its promise right away.
- Tighten the story: remove any beat that does not serve the outcome line.
- Audio pass: level the voice, reduce noise, and keep music well under speech.
- Captions: generate auto-subtitles, then review them quickly.
- Brand and CTA: add your end card or lower-third last.
Prioritize decisive story cuts and sound clarity, because viewers forgive plain visuals far sooner than muffled audio. Micro-polish like perfect transitions rarely changes retention.
For captions, let the tool do the first pass and read the result once at full speed, fixing names, jargon, and timing. Our guide on auto subtitles for Shorts walks through the quick review loop. Then export with a tested preset rather than guessing; our notes on compression presets for social show settings that survive platform re-encoding.
Compliance belongs in this stage, not after it. If the video is sponsored, the disclosure goes inside the edit:
The FTC advises that sponsorship disclosures be clear and conspicuous, and that visual or audible disclosures be placed in the video itself rather than only in a description. That means a spoken line near the start, an on-screen label, or both, so a viewer who never opens the description still sees it. The FTC also publishes guidance written for social media influencers that is worth reading once.

How do you publish short videos on the right platform settings?
Publishing is a checklist, not a creative act. Run it the same way each time and you protect everything you built earlier.
- First frame: pick a frame that reads clearly as a still, since it often serves as the thumbnail.
- Captions and text: confirm captions are burned in or uploaded, and nothing sits under platform interface elements.
- Title and tags: put the plain-language topic first, then relevant tags.
- Audience settings: set the correct audience designation and any sponsorship toggles before you hit publish.
- Schedule: upload in a batch and schedule releases across the week instead of posting live every day.
For YouTube Shorts specifically, you can record or upload vertical videos up to three minutes, and the platform’s updated classification rules treat square or vertical videos up to three minutes uploaded after October 15, 2024 as Shorts. On the money side, Shorts feed ad revenue is pooled and creators who accept the monetization module keep 45% of allocated revenue. Our breakdown of measurable Shorts SEO signals explains which early metrics are worth watching.
After publishing, check retention in the opening seconds, comments, and shares. Those tell you whether the hook worked.
Which tools and templates does this workflow need?
You do not need a big stack. You need one tool per job and a few templates you reuse every time.
Tool categories worth having:
- Mobile capture apps for steady vertical recording and quick retakes.
- Quick editors for assembly, trimming, and the audio pass.
- Auto-caption engines for the first-pass subtitles.
- Batch upload and scheduling tools for queuing a week of posts.
- Compressor and preset tools for consistent exports.
Templates to keep in one folder:
- A shot list sheet with A-roll, B-roll, and cutaway columns.
- A caption QA checklist covering names, numbers, and timing.
- An export preset saved inside your editor.
- A publishing metadata template with title, tags, and disclosure toggle.
Choose by volume. If you post a few clips a week, a mobile-first editor is plenty. If you batch many clips, a desktop editor pays for itself through faster timelines and reusable presets. Browse our video editing tool picks to compare options.
How do we test workflows, and what belongs in your final edit?
We test tools the way you would use them: real clips, real deadlines. Each test tracks time per clip, caption accuracy, and output file size, and we verify pricing before we publish it. You can read the full approach on our how we test AI tools page, and you can run the same measurements on any tool yourself.
Use this final-edit checklist before you export:
- Hook lands near the start.
- Audio is clear, with music under the voice.
- Captions are reviewed and timed.
- Sponsorship disclosure is spoken or shown on screen, inside the video.
- Safe zones are respected for platform interface elements.
- Export preset matches the target platform.
How do AI tools fit into each stage of the workflow?
AI earns its place when it removes a repeatable chore, and each stage has one. In planning, an assistant can draft hook variations from your outcome line, which you then pick and rewrite in your own voice. In production, AI is mostly invisible: noise reduction and auto-framing on your phone or recorder save a retake.
Post-production is where AI pays off most. Transcript-based editing lets you delete a sentence by deleting text, auto-subtitles produce a first caption pass, and audio cleanup tools level voices in seconds. In publishing, AI can suggest titles and descriptions, and schedulers can queue uploads across platforms.
Keep a human check at two points: the hook and the captions. A tool will happily write a flat hook or mishear a product name, and both hurt performance. We cover a hands-on approach in our guide to making YouTube Shorts with AI, and you can scan tested options on our AI video tools page.
The rule we follow is simple: automate the chores, keep the judgment. If a tool saves time but costs you a weaker opening line, it is not helping.
How should you organize files for short form video projects?
Short-form work generates a lot of small files fast, and a messy folder structure quietly steals time from every edit. A consistent layout fixes that.
Create one project folder per clip, or per batch, with the same subfolders every time:
- 01_Script: the micro-script and shot list.
- 02_Raw: untouched camera and audio files.
- 03_Assets: music, logos, fonts, and B-roll.
- 04_Project: your editor’s project file.
- 05_Exports: finals, named with the platform and version.
Name files with a predictable pattern such as date_topic_take, and add a version suffix to exports, for example v1 and v2, so you never ship an old cut. Keep raw files read-only once imported, and back up the day’s footage before you delete anything from your phone.
For batches, keep a single master sheet that lists each clip, its status, publish date, and whether it needs a disclosure. That one sheet is how you answer “what is ready?” in ten seconds. Archive finished projects monthly and keep only the raw footage and final exports, since presets and templates already live in your shared folder.
How do teams collaborate and give feedback on short videos?
Teams slow down when feedback arrives in five places at once. The fix is one review channel and clear roles.
Assign three roles even on a small team: a writer who owns the script and hook, an editor who owns the cut, and a reviewer who owns approval. One person can wear two hats, but the roles should stay distinct so nobody approves their own work.
Run reviews in two passes. The first pass checks story and hook on a rough cut, where changes are cheap. The second checks captions, audio, and compliance on the near-final export. Reviewers leave timestamped comments in a shared review tool or a single document, never scattered across chat threads.
Limit each round to one consolidated set of notes, and agree on a turnaround window, such as a few hours for a short clip. Keep a shared caption QA checklist and a shared disclosure rule so every editor applies the same standards. Version names in the export folder make it obvious which cut is under review, and the master sheet shows who is holding up a given clip.
How do you optimize one video for different social platforms?
A single clip can travel across platforms, but each one rewards slightly different packaging. Plan for that during editing, not after.
Start from one vertical master cut, then adjust the details. Keep important text and faces inside the safe zone so interface elements on any platform do not cover them. Open with the hook on every version, since all of these feeds are decided in the first seconds.
Adjust the packaging:
- Captions: keep them large and high-contrast, because many viewers watch muted.
- Length: trim tighter for fast-scroll feeds, and allow a longer cut where the platform supports it.
- Text and tags: rewrite the title or caption in each platform’s native style instead of pasting the same line everywhere.
- Audio: check whether trending or licensed audio is available on that platform and whether it fits your clip.
- Disclosure: apply the sponsorship disclosure in the video itself and use the platform’s built-in branded content toggle where one exists.
Export each version from the same project with a saved preset so quality stays consistent. If you want to see which tools handle multi-platform output well, our video repurposing tools category lists tested options.
What changes when you scale from solo to a small team?
Solo creators should automate first: templates, auto-captions, and saved presets give the largest speed gain for the least money. Outsource only the tasks that hurt most, usually sound mixing or heavy edits. Batching changes the math more than any tool does, because recording many clips in one session makes each clip far cheaper than a one-off shoot. As volume grows, delegated caption QA and a shared preset library are the investments that keep quality steady while output climbs.
— H
Where can you find pre-tested editors, caption tools, and presets?
We built our directory to save you the setup time. Tools are grouped by workflow role, so you can go straight to capture, editing, captions, or repurposing, and each listing carries our hands-on test notes and verified pricing. That means you can match a tool to your weekly volume without sitting through marketing copy.
If you want a head start, browse our Best AI Video Tools category for pre-tested picks, or jump to our auto-caption editor roundup to compare caption accuracy. Pick one tool per stage, load the templates from this article, and run your first clip through the loop today.
FAQ
How do you plan a short-form video?
Start with one outcome and a concise hook. Then write three beats, one call to action, and a shot list of three to five labeled shots. Doing this in a separate block from recording keeps the shoot fast.
What is the 80/20 rule in video editing?
It means spending most of your effort on the few edits that change the result: story cuts and sound clarity. Small visual polish rarely changes retention, so give it the leftovers. This keeps edits quick without lowering quality.
What are the four stages of a video workflow?
The common short-form framing is Planning, Production, Post-production, and Publishing. Planning covers ideas and scripts, production is capture, post-production is editing and captions, and publishing is scheduling. Separating thinking from execution is what speeds it up.
Where should a sponsorship disclosure go?
Place it inside the video, spoken or shown on screen, not only in the description. The FTC warns that disclosures buried in descriptions are unlikely to be adequate. Add it during the edit so it is never forgotten.