For creators who need reliable auto captions right now, these six tools cover every major workflow: CapCut for fast social clips with SRT export, Descript for transcript-first editing with speaker detection, VEED for simple styling and branded presets, Kapwing for quick short-form processing, Captions.ai for animated short-form captions, and Canva for creators who want captions inside a design-and-publish workflow. All six support automatic captioning software with at least one subtitle file export format, and Techvideoblog tested each against real interview footage, tutorial voiceovers, and noisy social clips.
- CapCut — free tier, SRT export, fast generation for social clips
- Descript — editable transcript drives caption timing; roughly 95% accuracy under typical conditions
- VEED — clean UI, branded caption presets, multiple export formats
- Kapwing — processes short clips in seconds, SRT/VTT/TXT export
- Captions.ai — preset animations built for engagement on short-form platforms
- Canva — integrated design assets plus caption styling in one publish workflow
Key Takeaways
The most effective approach to video editor auto captions is matching the tool to your specific workflow: CapCut for social speed, Descript for accuracy and long-form editing, and Kapwing or VEED for flexible export formats.
| Point | Details |
|---|---|
| Match tool to workflow | CapCut suits fast social clips; Descript suits interview and tutorial content with speaker detection. |
| Check export formats first | Confirm SRT or VTT export is available on your target plan before subscribing — some tools gate it. |
| Audio quality drives accuracy | Clean, single-speaker audio reduces word errors more than switching tools; keep background music low. |
| Free tiers have real limits | CapCut’s free plan is the most generous; VEED and Kapwing watermark free exports. |
| Techvideoblog for verified picks | Techvideoblog’s caption generator directory includes hands-on tests and verified pricing for all six tools. |
Table of Contents
- Which video editor auto captions tool fits your workflow?
- How to generate, edit, and export captions in each tool
- How to choose the right video editor with auto captions
- Pricing and when to upgrade your caption workflow
- Tactical tips to improve auto-caption accuracy and cut editing time
- How Techvideoblog tested these tools
- My picks by use case
- Techvideoblog: your shortcut to verified caption tool reviews
- Sources
- FAQ
Which video editor auto captions tool fits your workflow?
Three quick selection scenarios to narrow your choice:
- Fast social clips (Reels, Shorts, TikTok): CapCut or Captions.ai. Both generate captions quickly, include platform-ready presets, and handle short-form video editing with captions without a steep learning curve.
- Long tutorials or interview content: Descript. The editable transcript workflow means you fix words in text, and caption timing updates automatically — a real time-saver for 20-minute tutorials with two speakers.
- Multilingual distribution: Kapwing or VEED. Both support multiple export formats and offer translation features. For 80+ language auto-translation with word-level timing. Fliki is also worth checking alongside these tools.
How to generate, edit, and export captions in each tool
Each workflow below covers the core steps: import, generate, edit, style, export. Processing times are noted where the tool’s documentation confirms them.
CapCut
- Upload your video to CapCut web or desktop.
- Select Captions from the left panel and click Auto Captions.
- Choose your language; CapCut places synchronized text on the timeline automatically.
- Click any caption block to edit text or adjust timing.
- Apply a style preset or customize font and color.
- Export the video with burned-in captions, or download a standalone SRT file.
Descript
- Create a new project and import your MP4 or MOV file.
- Descript transcribes automatically and generates an editable transcript.
- Correct speaker labels first — this affects caption grouping throughout.
- Edit the transcript text; caption timing updates to match.
- Export as SRT, VTT, or render with burned-in captions.
VEED
- Upload your video to VEED’s web editor.
- Click Subtitles then Auto Subtitles and select your language.
- Edit the generated text in the subtitle panel.
- Apply a branded preset or adjust font, size, and position manually.
- Export as SRT, VTT, or download the video with captions burned in.
Kapwing
- Upload or paste a video URL into Kapwing’s editor.
- Select Subtitles and click Auto-Generate; short clips finish in seconds.
- Edit the transcript in the side panel.
- Style captions using the formatting toolbar.
- Export as SRT, VTT, or TXT, or render with captions embedded.
Captions.ai
- Import your clip via the mobile app or web interface.
- Tap Auto Captions and let the tool transcribe.
- Select an animation preset from the style library.
- Edit any incorrect words directly in the caption editor.
- Export with captions burned in, or download an SRT file.
Canva
- Open a video project in Canva and upload your clip.
- Click Edit Video then select Captions to auto-generate.
- Review and edit the caption text in the panel.
- Apply a template style or adjust typography manually.
- Export as MP4 with burned-in captions or download an SRT file.
Pro Tip: Clean audio before you upload. Tools like Descript and Kapwing both produce noticeably fewer errors on clean mono-channel audio than on noisy stereo recordings.
For a deeper walkthrough on any of these steps, Techvideoblog’s AI subtitle tutorial guide covers each tool with annotated screenshots.
How to choose the right video editor with auto captions
Use this checklist before committing to any tool.
Must-have features:
- SRT or VTT export without a watermark (check the free tier specifically)
- Editable captions after generation, not just a static burn-in
- Accurate auto-generation for your primary language
- Processing speed that fits your publish cadence
Nice-to-have features:
- Speaker labels and multi-speaker separation
- Word-level timing for karaoke-style or animated captions
- Auto-translation for multilingual distribution
- Brand preset saving for recurring formats
Red flags to watch for:
- No SRT export on the free plan (forces a paid upgrade just to get the file)
- Free tier capped at very short minutes per month with no clear upgrade path
- Styling locked behind the highest-tier plan
- Poor speaker separation on interview content
Three diagnostic questions to ask during your free trial:
- “Can I export an SRT or VTT file without a watermark on this plan?”
- “How many clicks does it take to correct a wrong word in the transcript?”
- “Does the tool handle two speakers in the same clip without merging their lines?”
Pricing and when to upgrade your caption workflow
Free tiers across these tools follow a predictable pattern: limited monthly minutes, watermarked exports, or both. CapCut’s free plan is the most generous for basic captioning — no watermark on standard exports and SRT download included. VEED and Kapwing both add watermarks on free-plan video exports, which makes them impractical for publishing without upgrading. Canva’s free tier includes caption generation but restricts some export options to Pro ($15/month).
Descript’s free tier limits transcription hours, which becomes a bottleneck quickly for creators publishing daily. Paid plans start around $12/month and remove those caps. Captions.ai offers a free tier for short clips but gates advanced animation packs behind paid plans.
When a paid plan makes sense:
- You publish more than 2–3 captioned videos per week
- You need team access or shared brand presets
- You require translation into multiple languages
- You need batch exports or API access for automated workflows
Price-related checks during any trial:
- Confirm SRT/VTT export is available on your target plan, not just the top tier
- Test watermark behavior on a real export before subscribing
- Check whether monthly minute caps reset or roll over
- Verify translation is included or costs extra per minute
For a curated list of tools with genuinely usable free tiers, Techvideoblog’s best free AI caption tools page breaks down exactly what each free plan covers.
Tactical tips to improve auto-caption accuracy and cut editing time
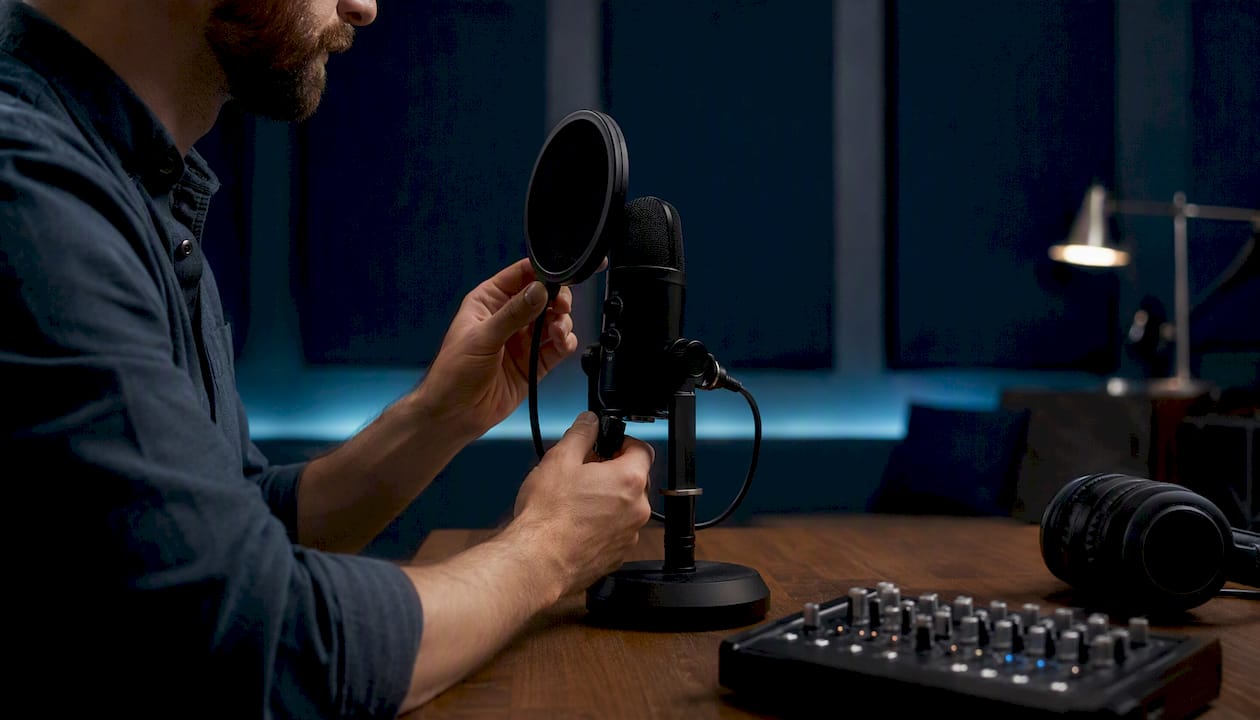
Audio quality is the single biggest lever on transcription accuracy. A directional USB microphone, a treated recording space, and background music kept low will reduce word errors more than switching tools. Most automatic captioning software — including Descript, Kapwing, and VEED — performs significantly better on clean, single-speaker audio than on noisy or reverberant recordings.
Once captions are generated, fix speaker labels before touching individual words. In Descript especially, correcting a speaker label propagates through the entire transcript, which saves you from hunting down every instance manually. For karaoke-style or word-highlighted captions, use word-level timing controls (available in Descript and Fliki) to tighten the sync between spoken words and on-screen highlights.
Pro Tip: If your content includes recurring brand names, product names, or technical terms, add them to the tool’s custom vocabulary or glossary before generating captions. Descript and several other editors support this. One pass through the glossary before you start saves multiple correction passes afterward.
Additional tactics worth building into your workflow:
- Export a draft SRT file first, review it in a text editor, then re-import corrections — faster than editing inside the video timeline for long-form content
- Use AI-powered content workflows to batch-process transcript corrections and repurposing tasks alongside caption generation
- Save a styled caption preset in VEED or CapCut for your recurring format so you never re-style from scratch
How Techvideoblog tested these tools
Techvideoblog’s comparison draws on hands-on tests across three clip types: a two-speaker interview (MP4, 8 minutes), a solo tutorial voiceover (MOV, 12 minutes), and a noisy-environment social clip (MP4, 45 seconds). Each tool was evaluated against the same set of metrics.
| Metric | How It Was Measured | Pass Criteria |
|---|---|---|
| Transcription accuracy | Word-error-rate review against manual transcript | Low word error rate |
| Processing speed | Timed from upload complete to captions available | Under 60 seconds for clips under 2 minutes |
| Export format availability | Attempted SRT, VTT, and burned-in export on free and paid plans | All three formats available on at least one plan |
| Styling flexibility | Counted font, color, position, and animation options | Minimum 3 independent styling controls |
| Language coverage | Verified against Azure Cognitive Services speech-to-text language support | Multiple languages supported |
File formats tested: MP4 and MOV. No tool received a pass on export formats if SRT was gated behind the highest-paid tier only. Processing speed for short-form clips was a key factor — Kapwing processes short-form videos in seconds, which directly affects how quickly creators can iterate on Reels and Shorts content.
My picks by use case
After running these tools through the test clips above, here is where each category lands:
- Best for social clips: CapCut. Fast generation, free SRT export, and TikTok/Reels presets built in — no friction between caption generation and publishing.
- Best for accuracy and long-form: Descript. The transcript-first workflow and speaker detection make it the most practical choice for interview-heavy or tutorial content where editing time matters.
- Best for multilingual distribution: Kapwing or Fliki. Both handle multiple languages and offer SRT/VTT export; Fliki extends to 80+ languages with auto-translation.
- Best free option: CapCut. The free plan includes SRT export and auto-captions without watermarking standard exports, which no other tool on this list matches at zero cost.
Techvideoblog’s AI caption generators directory covers full hands-on reviews for each of these picks, including sample clip results and verified export tests.
Techvideoblog: your shortcut to verified caption tool reviews
Sorting through six tools, free-tier fine print, and export format restrictions takes time most creators do not have. Techvideoblog cuts that research time by publishing hands-on reviews, sample clip tests, and verified pricing for every major video editor with auto captions — all in one place, without paid rankings distorting the results.
Every tool in the directory has been tested against real footage, with export format checks and free-tier limits documented clearly. You get the honest picture on accuracy, watermark behavior, and upgrade triggers before you commit to a subscription. Head to Techvideoblog to read the full reviews, download the export-check checklist, and find the right captioning tool for your workflow today.
Sources
Official documentation and feature pages used in this comparison:
- Video Caption Generator | Auto Captions in One Click | Descript
- Add Subtitles to Video Free | Restyle Your Video – CapCut
- Free AI Subtitle Generator – Auto Subtitles in 80+ Languages | Fliki
- Auto-Subtitle Generator — 99% Accurate (Free)
FAQ
Which video editor auto captions tool is the most accurate?
Can I export SRT files for free with any of these tools?
Yes. CapCut allows SRT export on its free plan without watermarking standard exports. Most other tools in this comparison, including VEED and Kapwing, require a paid plan for watermark-free video exports.
How many languages do these auto-caption tools support?
Support varies widely. CapCut and VEED cover multiple common languages; Fliki extends auto-translation to 80+ languages with word-level timing. For a verified list of speech-to-text languages, the Azure Cognitive Services language support page is the most reliable reference.
What is the fastest tool for captioning short social clips?
Kapwing processes short-form videos in seconds, making it one of the quickest options for Reels and Shorts workflows. CapCut also generates captions quickly and includes platform-ready presets for TikTok and Instagram.
Do these tools work for accessibility compliance?
SRT and VTT export are the key requirements for accessibility compliance on most platforms. Descript, Kapwing, and VEED all support both formats on paid plans. Always verify that your target platform accepts the specific file format before publishing.