A good product demo video is decided before anyone presses record. Plan it in this order: one outcome sentence, one viewer, up to three features, a one-page brief, a script, a clean demo account, a segment-by-segment recording, captions and formats, and a distribution list. Skip the early steps and you pay for them in the edit, where no amount of polish rescues an unclear story.
This checklist is written for creators, marketers, podcasters, small business owners and agency teams who need to ship demos repeatedly and cannot afford reshoots. Each step says what to settle, where it usually goes wrong, and what to hand to a tool instead of doing by hand.
TL;DR
- Write one checkable outcome sentence first, such as what the viewer can do after watching, and cut anything that does not serve it.
- Name one viewer, not a category: a role, a company size and the one question they are trying to answer.
- Show a maximum of three features, each framed as the benefit it gives, and never claim a time saving you cannot back up.
- Build a clean demo account and record in short segments, so one screen change means one re-recorded clip.
- Plan captions, aspect ratios and every distribution channel before the edit is locked, not after.
Table of Contents
- Step 1: Write one outcome sentence
- Step 2: Name one viewer at one stage
- Step 3: Pick up to three features and frame them as benefits
- Step 4: Fit the plan on one page
- Step 5: Outline and script the story
- Step 6: Prepare the demo environment
- Step 7: Record in segments and edit in passes
- Step 8: Plan captions and formats for every channel
- Step 9: Keep every claim provable
- Where AI tools fit in this checklist
- Our perspective
- FAQ
- Sources
Step 1: Write one outcome sentence
Every demo should begin with the question of what you want the viewer to do afterward. Atlassian’s guide to product demos frames it as defining what viewers should understand or be able to do, then cutting any section that does not support it. The same guide treats length as a consequence of that answer: short demos under three minutes suit prospects or existing users who need a quick overview, while long-form demos of roughly five to fifteen minutes suit deep-dive walkthroughs and onboarding.
Make the sentence checkable. A weak version is “show off our reporting.” A usable version reads: after watching, an account owner can find the report, choose a date range and export it. You can test a finished cut against that sentence in one viewing, which is the point. HubSpot’s demo video guide asks for the same discipline on the business side: name the action you hope the viewer takes, for example submitting a demo request form, before any creative decision.
Pair the outcome with one call to action. Starting a free trial, booking a call or watching the next video are all fine, but pick one. Two asks split attention.
Step 2: Name one viewer at one stage
“Marketers” and “SaaS companies” are not audiences. DMak Productions’ brief guide says a usable profile has a role, a company size, an industry, a level of product familiarity and the one question the viewer is answering when they hit play.
The stage matters as much as the role. Someone comparing options needs to see the product complete a real task. A new user needs the first step and the setup. Someone about to renew needs the feature they have not found yet. The same product produces three different demos.
If you are unsure how deep or technical to go, a short go-to-market planning framework can help you decide what each buyer type needs to see before the video is scripted.
Step 3: Pick up to three features and frame them as benefits
DMak recommends listing a maximum of three key features in order of importance to the goal, each with the pain it resolves. More than that and the video turns into a tour.
A feature informs, while a benefit gives the viewer a reason to keep watching. MyVideoProduction contrasts a dashboard with real-time analytics and custom filters against the reframe that your team sees the right data instantly, without digging through reports. Their test is the viewer’s silent question: so what?
Use this quick conversion when you plan:
| Feature | Benefit the viewer can picture | What to show on screen |
|---|---|---|
| Scheduled exports | Monday’s report is in the inbox before the meeting | The schedule being set, then the received email |
| Integrations | No more switching between tools to copy data | One record created in one tool, appearing in the other |
| Auto captions | Clips are ready to post without a manual transcript pass | A raw clip, then the captioned result |
For physical products the logic is the same. Show attaching, folding or fitting the product into a real space, not a generic beauty shot. Brougham Media makes the same point for launch videos: connect a specific audience problem to a clear benefit, then support it with a demonstration.
Step 4: Fit the plan on one page
The brief is where you align everyone before the expensive part. Keep it to one page and include:
- The business goal and the outcome sentence.
- The one viewer, with role, stage and question.
- The core problem the product solves.
- Up to three features, in order, with the benefit of each.
- What you will leave out on purpose.
- Tone and target length.
- The single call to action and where the viewer lands.
- Distribution channels, timeline and the people who must approve.
That list follows the elements DMak lists for a product demo brief, plus the explicit “leave out” line, which saves the most arguments later. Put the approvers in the brief by name. Levitate Media’s production checklist expects two to three approval rounds when legal, compliance or executive sign-off is involved, so a late reviewer is a schedule risk you can see coming.
If you want a template for this stage, our one-page brief for testing AI video generators uses the same habit of fixing the goal, inputs and pass criteria before any tool runs.
Step 5: Outline and script the story
Use a simple arc: problem, solution, next step. Atlassian recommends a written outline of must-hit topics before you record, and HubSpot suggests moving from the brief to an outline, then writing section by section, marking where b-roll or cutaways are needed and doing a spoken run-through before filming.
Open on the task the viewer recognizes. MyVideoProduction suggests a context hook in the first five to seven seconds, and Levitate wants the first edit to hook within the first five to eight seconds. Skip the logo animation and the “welcome to our demo” greeting. Start on the problem or the finished result.
Here is a workable split for a 90-second overview:
| Part | Approx. length | What it does |
|---|---|---|
| Hook | 5 to 10 seconds | States the problem in the viewer’s words |
| Starting screen | 5 to 10 seconds | Shows the realistic state before the task |
| Workflow | 40 to 50 seconds | One task from start to finish, one narration sentence per action |
| Result | 10 to 15 seconds | Ends on the output the viewer wanted |
| Call to action | 5 seconds | One next step |
This is a planning guide, not a rule. The principle holds at any length: one workflow, shown end to end, with each action paired to a plain sentence.
On script length, Levitate estimates 350 to 450 words for a B2B video under three minutes. If your draft runs well past that, you have more than one demo in it. Their editor’s advice is worth keeping on the wall: if the story feels unclear in the edit, go back to the brief rather than adding graphics, because more graphics will not fix a weak script.
Step 6: Prepare the demo environment
Most retakes come from the product, not the presenter. A stale notification, a half-empty dashboard or a bookmark bar full of personal tabs ruins an otherwise clean take. Before recording, work through this list, drawn from VideoEditingCompany’s production guide and Hilo Media’s screen-recording checklist:
- Dedicated demo account. Use realistic but non-sensitive data, with enough history that charts and lists look lived in.
- Right permissions. Confirm the account’s login, role, subscription tier and feature flags, so you never show a feature the viewer cannot get.
- Clean build. Remove debug tools and beta labels.
- Privacy pass. Clear customer data and browser history, and blur anything sensitive.
- Clean browser. Use a fresh profile with no extensions or bookmarks, and turn off system notifications.
- Resolution set. Set the browser to the size you will deliver.
- Numbered click sequence. Write it down, and decide the final frame that shows the payoff.
- Reset plan. Know how to return the account to its starting state for a retake.
- Audio plan. Decide between live narration and a voiceover recorded later, and test the microphone.
- Reviewers listed. Name who checks product accuracy, language, brand and final approval.
Finish with one full dry run. If the run exposes a confusing step, fix the product state or the script now, not in the timeline.
If you record with a screen recorder and are comparing options, our screen recorder pricing breakdown shows what teams pay and where plans differ before you commit to a subscription.
Step 7: Record in segments and edit in passes
Record one clip per section rather than one long take. When a screen changes or you stumble, you redo one clip. VideoEditingCompany adds three capture habits: record at twice your delivery resolution so you have room to crop and zoom, use 60 fps for smooth cursor movement, and move the cursor deliberately, hiding it during transitions.
Northwest Media Systems refines the frame rate: 30 fps is enough for static click-throughs, while scrolling and drag-and-drop benefit from 60 fps. They also suggest raising the app zoom to 110 to 125 percent so labels stay readable on phones, which is a cheap fix for a very common complaint. Keep the voiceover on its own track, so you can replace a sentence without touching the picture.
Then edit in passes, not one long sitting:
- Cut. Remove false starts, silences, loading screens and filler words.
- Zoom. Add a punch-in only where a specific button or result matters.
- Audio. Balance voice against any system sound or music, and keep music low enough that every narrated word is clear.
- Captions. Add them last, once the cut is locked.
Finally, play the 16:9 export at the size it will appear on your homepage. Interface text that reads fine full screen often turns to mush in an embed.
Transcript-based editors make the cut and caption passes much faster, because you delete words from text instead of scrubbing a timeline. Our Descript review covers how that workflow holds up in practice.
Step 8: Plan captions and formats for every channel
Captions belong on every demo. VideoEditingCompany gives three reasons: many people watch social video with the sound off, captions support accessibility, and they help non-native English speakers follow along. If you produce many clips, see our guide to video editors with auto captions to speed up this pass.
Decide formats before the edit is locked. Levitate suggests confirming four things for each channel: file type and resolution, aspect ratio and safe zones for text and logos, the thumbnail, title and description, and the call to action with its landing page. A practical default set:
| Channel | Typical format |
|---|---|
| Homepage, YouTube, sales deck, email | 16:9 at 1080p or higher |
| Shorts, Reels, LinkedIn video posts | 9:16 vertical cut from the same recording |
| In-feed social | 1:1 square, where it suits the platform |
If vertical is part of your plan, check the exact frame sizes in our YouTube Shorts resolution guide. For the publishing side, from approvals to channel-specific posting, this overview of LinkedIn content strategy for B2B is a useful companion to your distribution list.
Also make the video findable. Upload to a hosting platform, embed it above the fold on the relevant page, and place it in onboarding and sales sequences so reps can send it instead of scheduling a live call. Cut 30 to 60 second clips for social and keep feature-specific demos in the help center. HubSpot’s list adds email signatures, partner blog posts and sales pitches. If you want the clips workflow, our short-form video workflow walks through four stages to publishing, including FTC disclosure.
Step 9: Keep every claim provable
In the United States, advertising claims need to be truthful and backed by evidence, and WizStar notes that this applies to implied visual claims as well as narration. A sped-up screen recording does not prove a time-saving claim by itself.
Practical rules:
- Do not put a figure like “40 percent faster” in narration or on screen unless you hold evidence for that exact claim.
- Show real results with representative data, not a staged best case.
- Keep a release note or current help article beside the script so every statement traces to a reliable source, and review the script again when the product changes.
If a claim could affect a purchase decision and you are unsure it is supportable, have your legal or compliance contact review the script before you record.
Where AI tools fit in this checklist
AI tools are most useful in the middle of this process: transcript editing, auto captions, reframing a 16:9 recording into vertical clips, and voiceover. They do not replace steps one to four. A tool cannot choose your viewer or decide what to leave out.
On TechVideoBlog we compare AI video tools on real workflows, with verified pricing and transparent ranking criteria, so you can match a tool to the step that is slowing you down. If your demos are for software, start with our tested AI tools for product demo videos, then see AI video tools for SaaS for category-level picks.
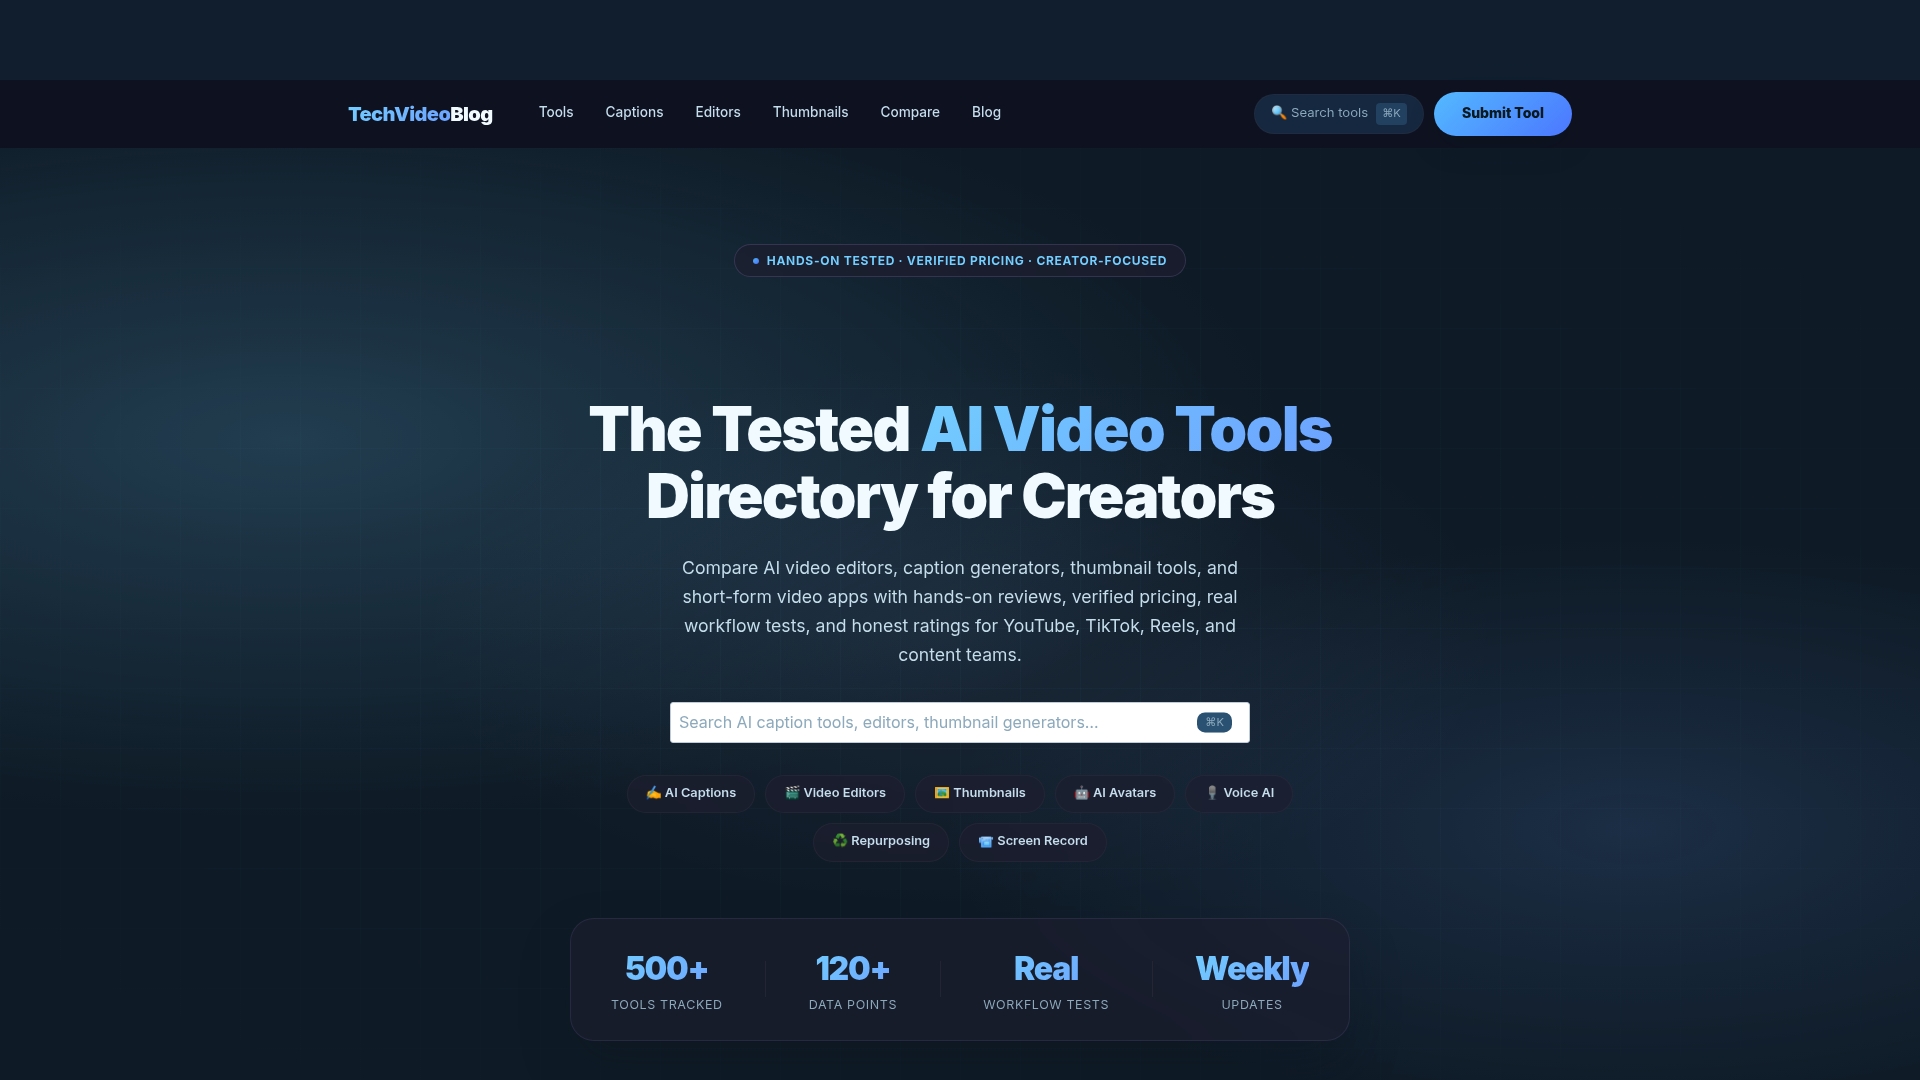
For a wider view of what is available, browse the full tool directory.
If you would rather bring in a crew for on-camera or physical product footage, a specialist in tech product video production can cover the filming while you keep ownership of the brief and the script.
Our perspective
The most common mistake we see in demo planning is starting in the editor. People open a tool, import a recording and hope a story appears. It rarely does.
Our approach to tools is the same as our approach to demos: define the job first. When we test AI video tools, we run them against a real workflow, record what the output looks like, and check the pricing as published, because retries and credits can change what a tool really costs. The same discipline applies to your demo. One outcome, one viewer, three features, one call to action.
That is why our directory is organized by use case and by the job a tool does, such as editors, caption generators and screen recorders, and not by hype. Rankings are based on workflow fit and transparent criteria, not on paid placement. If you plan the demo with the checklist above, the tool choice becomes a short, concrete decision.
H
FAQ
How long should a product demo video be?
It depends on the job. Atlassian describes short demos under three minutes for a quick overview and long-form demos of about five to fifteen minutes for deep dives or onboarding. HubSpot calls two minutes the sweet spot, going up to five for detailed use-case demos. Pick the shortest length that still completes the workflow.
What should a product demo video include?
A hook on the problem, a realistic starting screen, one workflow shown start to finish, the result on screen and one call to action. Limit yourself to three features, each tied to a benefit the viewer can picture.
Should I use a script or record live?
Write a script, or at least a numbered click sequence with one narration sentence per action. You can still record live narration against it, or record the voiceover separately. A written plan keeps the demo short and makes each segment easy to re-record.
Do I need captions on a demo video?
Yes. Many viewers watch with the sound off, and captions help accessibility and viewers who are not native English speakers. Add them after the cut is locked, and check that they stay readable at the size of your embed.
Can I say my product saves a specific amount of time in the demo?
Only with evidence for that exact claim. U.S. advertising guidance expects claims to be truthful and substantiated, including those implied by visuals. If you are unsure, have your legal or compliance contact review the script first.
Sources
- Atlassian: Record clear product demos
- DMak Productions: How to write a video brief for a product demo
- HubSpot: Product demo videos
- MyVideoProduction: Features vs. benefits in a product demo
- Brougham Media: Product launch video examples
- Levitate Media: Video production checklist
- VideoEditingCompany: Product demo video production
- Hilo Media: Screen recording checklist
- Northwest Media Systems: Capture-to-edit pipeline
- WizStar: Product demo video formats, scripts and workflow