For quick, reliable fixes, use an online AI stabilizer — upload your clip, let the algorithm smooth the motion, preview the result, and export. For most short mobile clips, that four-step flow is all you need. Longer, more complex footage (multi-minute drone shots, wide pans, rolling shutter distortion) benefits from a desktop NLE like Adobe Premiere Pro or DaVinci Resolve, where you control position, scale, and rotation independently.
Quick workflow guide:
- 30–90s mobile clip: Use an online AI stabilizer (CapCut, Wink, or Online Video Cutter) for a one-click fix in minutes.
- Multi-minute or drone footage: Move to a desktop editor for frame-by-frame control and boundary fill.
- Sensitive footage: Process offline; avoid uploading confidential material to cloud-based tools.
Key Takeaways
Online AI stabilizers handle most short-clip fixes in minutes; desktop editors remain the right call for complex footage with wide motion, rolling shutter, or subject drift.
| Point | Details |
|---|---|
| Start with Subtle strength | Subtle smoothing preserves natural motion; Maximum often over-crops and locks the frame unnaturally. |
| Test on a short clip first | Process a 5–10 second sample before committing to a full export to dial in settings. |
| Match tool to use case | CapCut for adjustable one-click fixes, Wink for batch jobs, Online Video Cutter for single casual clips. |
| Check privacy before uploading | Review data retention policies; use offline tools for sensitive or client footage. |
| Techvideoblog for deeper comparisons | The Techvideoblog AI video tools directory covers tested stabilizers and full-suite editors beyond this shortlist. |
Table of Contents
- How to stabilize a video with AI in four steps
- CapCut, Wink, and Online Video Cutter compared
- What each tool actually offers
- Expert tips for natural-looking stabilization results
- Pricing, file limits, and privacy considerations
- Fixing common problems after stabilization
- The Techvideoblog testing perspective
- Techvideoblog: find the right stabilizer without the guesswork
- Sources
- FAQ
How to stabilize a video with AI in four steps
The core process is the same across nearly every online AI stabilizer: upload, configure, preview, export. Here is how to do it cleanly.
- Prepare your file. Trim your clip to the section you actually need before uploading. Most online tools cap uploads at 500 MB or less, and shorter clips process faster. MP4 and MOV are universally accepted; WebM and AVI work on some platforms but not all.
- Upload and choose your stabilization strength. Most tools offer at least three presets: Subtle, Medium, and Maximum. Start with Subtle. It smooths micro-jitter without aggressively cropping the frame.
- Preview the result. Use the before/after player every tool provides. Check the edges of the frame for black borders, and watch for subject drift, where a face or object slowly migrates toward one side.
- Export and download. Choose your resolution and format. Free tiers often cap at 1080p or add a watermark; paid plans typically unlock 4K and clean exports.
Pro Tip: Test stabilization on a 5–10 second clip cut from the middle of your footage before processing the full file. This saves time and lets you dial in the right strength setting without committing to a full export.
Common upload limits to know:
- MP4 and MOV: supported by all three featured tools
- File size: typically capped at a few hundred megabytes on free tiers
- Long clips: trim into 2–3 minute chunks and stitch in a timeline editor afterward
CapCut, Wink, and Online Video Cutter compared
| Feature | CapCut | Wink | Online Video Cutter |
|---|---|---|---|
| Ease of use | One-click + adjustable params | One-click, minimal UI | One-click, bare-bones |
| AI modes / scenario options | Gyroscope mode, scenario presets, crop/frame buffer | Standard AI smoothing | Basic deshake only |
| Supported input formats | MP4, MOV, and others | MP4, MOV | MP4, MOV, AVI, and others |
| Max file size / upload limit | Up to 500 MB (free tier) | Not publicly listed | Not publicly listed |
| Batch processing | Limited on free tier | Yes, marketed as a key feature | No |
| Free tier / watermarking | Free with CapCut watermark on some exports | Free, no account required | Free, no watermark noted |
| Preview before download | Yes, before/after player | Yes | Yes |
| Processing speed | Minutes-scale | Minutes-scale | Minutes-scale |
Who each tool suits:
- CapCut works best for social creators who want a one-click fix with room to fine-tune crop and gyroscope settings.
- Wink suits anyone who needs to process multiple clips fast without creating an account.
- Online Video Cutter fits the occasional user who wants the simplest possible browser-based fix for a single clip.
What each tool actually offers
CapCut
CapCut’s web-based stabilizer is the most feature-rich of the three. Beyond a standard one-click mode, it offers gyroscope-informed stabilization that reads motion metadata from mobile-shot footage, which tends to produce cleaner results than pure optical-flow analysis on handheld clips. You can adjust crop level and frame buffer, giving you real control over how much of the frame edge gets sacrificed for smoothness.
Pros:
- Gyroscope and scenario modes for more accurate motion correction
- Adjustable crop and preview controls before export
- Broad format support and a familiar, polished UI
Cons:
- Free exports may carry a CapCut watermark depending on account status
- Batch processing is restricted on the free tier
- Requires a CapCut account for some features
Wink
Wink markets itself on speed and accessibility. No account is required to process a clip, and batch processing is available, making it the practical pick for event videographers or content teams handling multiple short files at once. The stabilization algorithm focuses on preserving composition rather than applying aggressive crop.
Pros:
- No account needed
- Batch processing supported
- Fast turnaround, typically minutes per clip
Cons:
- Fewer adjustable parameters than CapCut
- File size limits not publicly listed
- No scenario or gyroscope modes
Online Video Cutter
Online Video Cutter offers the most stripped-down experience of the three. Upload a clip, apply the deshake filter, download. There are no presets, no scenario modes, and no batch queue. For a single casual clip where you just need the wobble reduced, it works without friction.
Pros:
- Zero setup, no account required
- Fast for single clips
- No watermark noted on exports
Cons:
- No AI scenario modes or adjustable strength presets
- No batch processing
- Limited format and resolution controls
Expert tips for natural-looking stabilization results
The most common mistake with AI stabilization is over-applying it. A fully locked frame looks unnatural, especially on handheld footage where slight organic motion is expected. Adobe recommends fine-tuning Position, Scale, and Rotation rather than relying on a single stabilize click, because each axis of movement responds differently to correction.
Pro Tip: If your stabilized clip looks like it was shot on a tripod when it clearly wasn’t, dial the strength back to Subtle and re-export. A small amount of residual motion reads as natural to viewers.
Practical guidance for better results:
- Use gyroscope data when available. Footage shot on a modern smartphone often contains motion metadata. Tools like CapCut that read this data produce smoother corrections with less crop than pure optical-flow methods.
- Fix rolling shutter separately. Stabilization does not correct the “jello” effect from CMOS sensors. Address rolling shutter in a desktop editor before stabilizing.
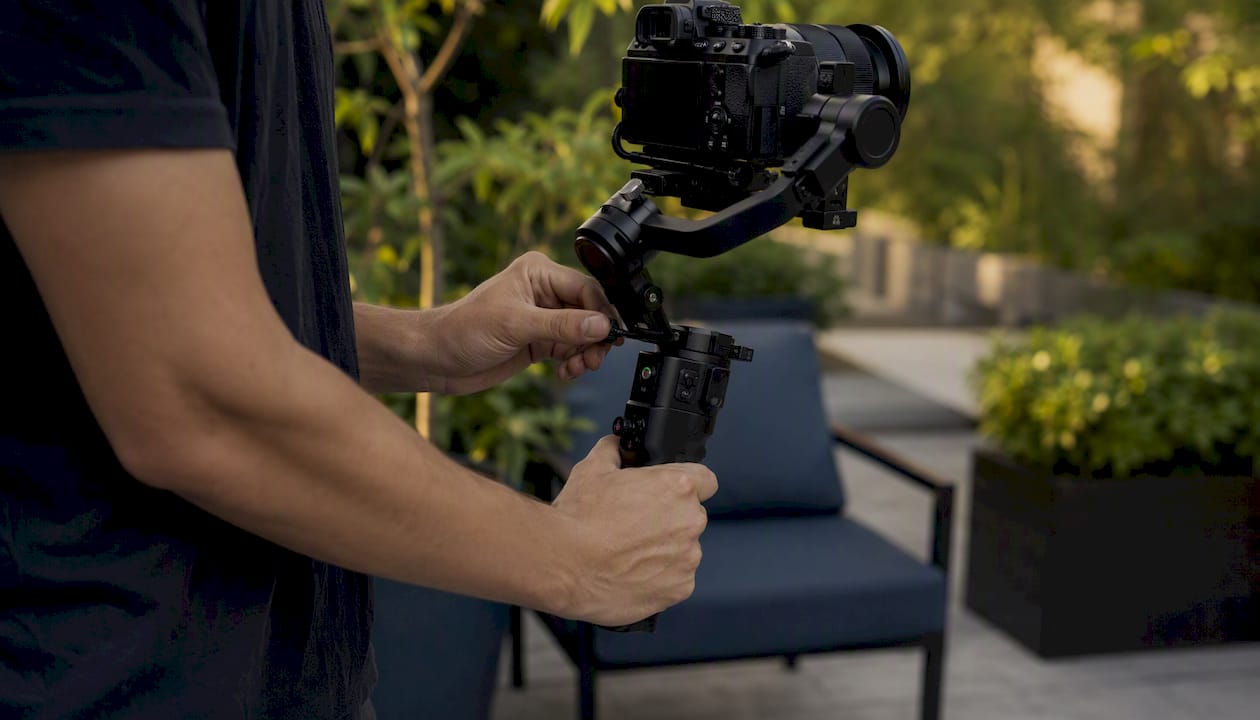
- Avoid double stabilization. If footage was shot on a gimbal, do not run it through an AI stabilizer. The algorithm will try to correct motion that was already intentional, producing a drifting, unnatural result.
- Use desktop NLEs for complex shots. Wide pans, subject drift, and footage with large motion vectors benefit from AI video editors that offer boundary fill and inpainting. Online tools crop the frame to hide missing edges; desktop tools can synthesize them. Research published in 2025 shows that spatiotemporal transformer methods can fill those boundary regions after warping, producing full-frame results on footage with wide motion.
- Programmatic workflows using OpenCV’s stabilizer classes (OnePassStabilizer, TwoPassStabilizer) and optical-flow estimators underpin many of the online tools you use, including vid.stab-based pipelines that trade a small zoom/crop for smoother motion.
Pricing, file limits, and privacy considerations
Most online AI stabilizers follow the same free-vs-paid structure. Free tiers handle short clips with some restrictions; paid plans unlock higher resolution, larger files, and batch processing.
Common free-tier tradeoffs:
- Watermarks on exported files (CapCut on some exports; varies by account)
- File size caps, typically in the 200 MB–500 MB range
- Processing queue priority lower than paid users
- Batch processing locked behind a paid plan (Kapwing, for example, requires a Pro account for full stabilization features)
Privacy considerations: Every online stabilizer uploads your footage to a remote server for processing. Before uploading, check the tool’s data retention policy. Look specifically for whether files are deleted immediately after processing or stored for a period. For footage containing identifiable people, proprietary content, or client work, process offline using a desktop editor or a local tool. If you want to check how your video content and metadata appear across AI platforms after distribution, a tool like the AI Search Engine Checker can help you audit visibility.
Fixing common problems after stabilization
Problem → Fix:
- Black borders appear at frame edges: The stabilizer cropped to hide missing pixels. Choose a “zoom to fill” or “crop to fit” option if available, or accept a slightly tighter frame. Reduce stabilization strength to minimize crop.
- Subject drifts toward one side: The algorithm is correcting camera movement but not tracking the subject. Switch to a scenario mode (face tracking or subject lock) if the tool offers one, or move to a desktop editor with motion tracking.
- Wobble remains after stabilization: The footage may have rolling shutter distortion rather than camera shake. Fix rolling shutter in a desktop editor first, then re-stabilize.
- Already-gimbaled footage looks worse: You have applied double stabilization. Skip the AI stabilizer entirely for gimbal footage unless the gimbal introduced its own oscillation artifact.
- Clip looks unnaturally locked: Strength is set too high. Re-export at Subtle or Medium.
Pro Tip: Always keep the original, unprocessed file. Run stabilization on a copy so you can return to the source if the result introduces new artifacts.
For long clips trimmed into chunks, stabilize each segment separately, then rejoin them in a timeline editor. The cut points will be invisible to viewers if you trim at natural pauses or cuts.
The Techvideoblog testing perspective
At Techvideoblog, every tool in the directory gets tested on real-world clips: handheld smartphone footage, drone b-roll, and screen recordings with motion artifacts. For stabilizers specifically, the test set includes a 45-second handheld walking shot, a 90-second drone clip with wind drift, and a batch of ten short social clips to stress-test queue speed and batch handling. Speed, crop behavior, watermarking, and export quality are all logged before any recommendation goes live. The goal is to give you a clear picture of what a tool actually does in a working creator’s timeline, not what the marketing page claims. Browse the full AI video tools directory to find tested options across every category.
Techvideoblog: find the right stabilizer without the guesswork
CapCut, Wink, and Online Video Cutter each solve a specific slice of the stabilization problem. But if you are also looking for tools that handle captions, b-roll generation, thumbnail creation, or full timeline editing alongside stabilization, hunting through individual tool sites is slow.
Techvideoblog’s AI video tools directory cuts through that by giving you hands-on reviews, verified pricing, and workflow test results in one place. Every entry is evaluated on real footage, not vendor copy. If you want to go deeper on desktop editors that include stabilization as part of a full editing suite, the best AI video editors category is the right starting point. Check the directory, filter by your workflow, and skip the trial-and-error.
Sources
- Stabilize shaky or blurry video | Adobe
- Video Stabilization · OpenCV
- Full-frame video stabilization via spatiotemporal transformers
FAQ
Is it possible to stabilize a video with AI?
Yes. AI-powered stabilizers use optical-flow analysis and, in some cases, gyroscope metadata to detect and correct unwanted camera motion frame by frame. Tools like CapCut and Wink do this entirely in a browser with no software installation required.
How can I stabilize a video for free?
Upload your clip to CapCut, Wink, or Online Video Cutter, all of which offer free stabilization. Free tiers typically cap file size and may add a watermark; for clean exports above 1080p, a paid plan is usually required.
What does video stabilization actually do?
Stabilization analyzes the motion path between frames and applies a counter-movement to smooth out shake. The algorithm crops a small portion of the frame to hide the edges that shift during correction, which is why stabilized footage is slightly tighter than the original.
How do I turn on video stabilization in an online tool?
Upload your file, select a stabilization strength (Subtle, Medium, or Maximum), and click the stabilize or process button. Most online tools apply stabilization automatically once you confirm the setting; no manual keyframing is needed.