
Blog to video AI converts a published article into narrated, platform native videos, usually a 30 second short, a 60 second feed cut, and a 3 minute YouTube version, in about an hour once your AI-powered content workflow cuts research time 60% for SEO once your workflow is dialed in. Quality depends heavily on script length and voice choice, not the tool’s marketing claims. Solo creators, small marketing teams, and content leads repurposing evergreen posts get the most out of it.
TL;DR:
- Using blog to video AI works best for evergreen, high-traffic posts that allow extracting a clear argument with proof points.
- Script quality depends heavily on tone controls, the ability to generate multiple lengths, and human review before publishing.
- Creating three videos from one post requires writing separate scripts tailored to each platform’s format, not just trimming a single script.
- Disclosing AI-generated voices or visuals is mandatory only if they could reasonably mislead viewers, with proactive disclosure recommended.
- Key factors in choosing a tool include voice cloning quality, scene control, export options, and scalability features such as batch processing and API access.
Table of Contents
- How Does Blog to Video AI Actually Work?
- What Features Actually Matter in an AI Blog to Video Converter?
- How Do You Turn One Blog Post Into Three Videos?
- How Should You Format Each Cut for Its Platform?
- When Do You Need to Disclose AI-Generated Content?
- How Do You Choose the Right Blog-to-Video Tool?
- Why Trust TechVideoBlog’s Testing on This
- An Editorial Take on Repurposing One Post Into Three Videos
- Start Comparing Tools in TechVideoBlog’s Directory
- Sources
- FAQ
How Does Blog to Video AI Actually Work?
Every automated blog content video generator runs the same basic pipeline, even when the interface looks different. You paste a URL or upload a document, the tool extracts the article’s spine, generates a script, adds a voice, picks visuals, and exports.
- Ingest: Paste the blog URL or upload text. Most tools scrape headings, subheads, and body copy automatically, though pages with heavy custom formatting sometimes lose structure in extraction.
- Extract: The software isolates the argument, usually the H1, subheads, and any bolded claims, and discards navigation, ads, and related-post widgets.
- Script: A script composer condenses the post into narration. A 2,000-word article should compress to a script of 150 to 300 words, matching a video running roughly one to two minutes at a natural speaking pace.
- Voice: You either generate synthetic narration from a voice library or upload your own recorded audio. Voice cloning tools let you reuse a consistent brand voice across every cut.
- Visuals: The tool assembles b-roll, stock clips, or template scenes timed to the script, usually in 5 to 8 second segments for pacing.
- Assemble and export: Captions burn in automatically, and the tool renders files sized for your target platform before pushing to a publishing queue or a direct export.
The automation handles extraction and assembly well. Script tone and visual relevance still need a human pass before you publish.
What Features Actually Matter in an AI Blog to Video Converter?
Marketing pages tend to list the same features. What separates a usable AI blog to video converter from a frustrating one comes down to a handful of practical details.
- Script composer flexibility: Look for tone controls (casual, authoritative, promotional) and the ability to generate multiple script lengths from one source instead of forcing you to manually trim a single draft.
- Voice quality and cloning: Naturalness varies enormously between vendors. If you plan to build a recognizable channel, voice cloning support matters more than the size of the stock voice library.
- Content credentials: Some platforms now embed C2PA metadata automatically, which simplifies disclosure later.
- Scene and template control: You want manual override on scene timing and the ability to upload your own footage instead of relying entirely on stock clips picked by the algorithm. Pacing tied to your actual claims beats generic visual polish almost every time.
- Captions and export specs: Confirm the tool exports burned-in captions plus the aspect ratios and resolutions you need, not just one default format.
- Batch and API access: If you’re producing at volume, check for batch rendering and whether minute or credit caps reset monthly or expire.
How Do You Turn One Blog Post Into Three Videos?
Start by picking the right source material. Process posts, frameworks, and how-to guides convert far better than opinion pieces, and posts with proven organic traffic or high time-on-page make the strongest candidates.
- Extract the five-line spine. Pull one hook line, three proof points, and one call to action from the blog. This becomes the skeleton for all three scripts.
- Write three separate scripts, not one script trimmed three ways. The 30 second cut gets one claim and one proof. The 60 second cut gets two claims and two proofs. The 3 minute cut carries the full argument with three to five proof points.
- Generate voiceovers. Use a cloned brand voice if your tool supports it, since a consistent voice across cuts speeds recognition and production.
- Queue b-roll prompts in one batch rather than generating visuals cut by cut, then assemble starting with the shortest video to lock your pacing early.
- Export in the correct aspect ratios, burn in captions, and schedule staggered publishing instead of dropping all three at once.
Handled this way, a tested 60-minute workflow is realistic once you’ve run it a few times, with 55 to 75 minutes of active work per post.
Pro Tip: Write the 30 second script first, even if the short is not your priority platform. Forcing the argument into one claim and one proof clarifies what actually matters before you write the longer, more forgiving cuts.

How Should You Format Each Cut for Its Platform?
A single video resized three ways rarely performs well anywhere. Each platform rewards different pacing, and formatting for the destination is what separates a repurposed clip from a native one.
- Shorts, Reels, TikTok: Vertical 9:16, 15 to 30 seconds, one claim with rapid cuts every few seconds and a hook in the first line.
- LinkedIn and Instagram feed: 45 to 90 seconds, two claims with two proof points, square or vertical framing, captions burned in since most feed viewers watch muted.
- YouTube long form: 2 to 4 minutes, slower pacing, chapter markers, a detailed description, and a purpose-built thumbnail rather than an auto-generated frame.
Stagger the release instead of publishing all three simultaneously. Posting the short on day zero, the native cut a few days later, and the long-form cut the following week produces more total impressions across each platform’s funnel than a single same-day drop.
When Do You Need to Disclose AI-Generated Content?
YouTube requires disclosure when content includes realistic AI-generated or AI-altered elements that could reasonably mislead a viewer, and proactive self-disclosure through YouTube Studio’s AI-use setting is the recommended path rather than waiting for a platform-applied label.
- Voice cloning, realistic synthetic faces, and deepfake-style avatars typically require disclosure.
- Standard edits like captions, color grading, and background music generally do not.
- Use tools that support C2PA or Content Credentials when available, since embedded provenance metadata makes disclosure traceable and reduces friction with automated detection.
Creators who disclose proactively tend to retain more viewer trust than those who get flagged after the fact, and self-disclosure avoids the risk of a takedown or a monetization review triggered by platform detection.
How Do You Choose the Right Blog-to-Video Tool?
Match the tool to your actual output goal, not the longest feature list. A tool built for high-volume shorts trades product realism and avatar fidelity for speed and lower cost, while a tool built for demo or coaching-style fidelity usually charges more and runs slower per export.
- Estimate your monthly minute or credit needs before comparing plans, since caps vary widely by vendor.
- Test voice quality and cloning support directly. A voice that sounds fine in a 10 second demo can sound robotic across a 3 minute script.
- Confirm scene timing controls, custom asset upload, and caption export options before committing.
- If you need volume, check for batch processing and API access, plus how responsive support actually is.
- Treat opaque pricing pages, missing caption export, or unnatural-sounding demo voices as red flags.
Pro Tip: Run the same blog post through two tools’ free tiers before buying either one. The output gap in voice naturalness and script quality shows up faster than any comparison chart.
Why Trust TechVideoBlog’s Testing on This
Some directories run hands-on workflow tests and verify pricing directly with vendors, so minute caps, voice quality, and export limits reflect what actually ships, not what a landing page promises. Our Software Archive and our guide to the best AI tools for content repurposing let you filter by minutes, voice options, and API access before you commit a budget.
An Editorial Take on Repurposing One Post Into Three Videos
The advice most creators get on repurposing is backwards. It tells them to make one video and resize it for every platform. That produces three mediocre cuts instead of three native ones, because a 30 second hook and a 3 minute argument are different writing problems, not the same script cropped shorter.

What’s overrated here is visual polish. Pacing tied to the actual claim in your script matters more than which stock library a tool draws from, and creators chasing cinematic b-roll usually lose the thread of the argument they started with. What’s underrated is script discipline: writing the short version first forces clarity that improves the longer cuts too.
If you’re starting from zero, prioritize evergreen how-to posts with proven traffic, not your newest article. A consistent cloned voice across all three cuts will do more for recognition than any single visual choice you make.
— H
Start Comparing Tools in TechVideoBlog’s Directory
Some directories offer an alternative to guesswork tool shopping by providing verified pricing and workflow notes from tests already run.
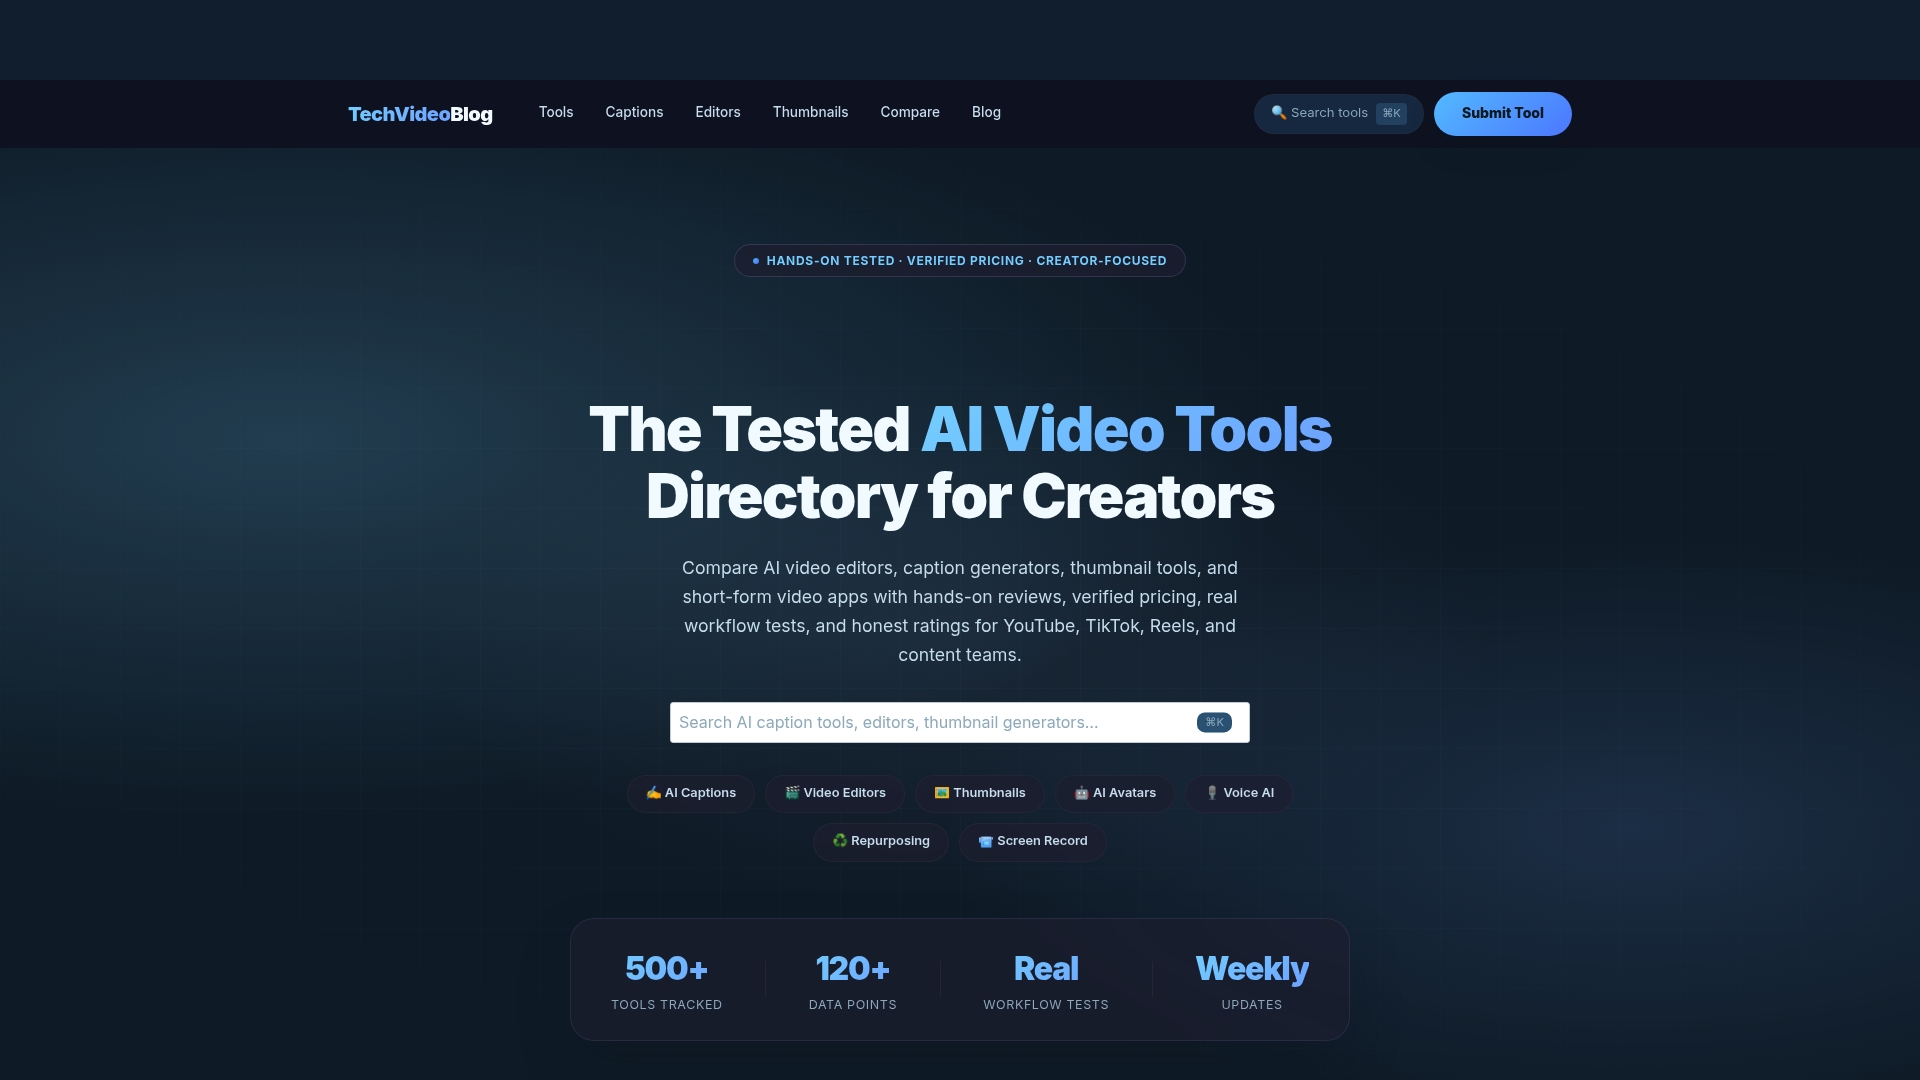
Compare minute caps, voice cloning quality, and export limits side by side before you commit a monthly budget to any single vendor. Our best AI tools for content repurposing list breaks down which platforms handle high-volume shorts well versus which ones prioritize coaching or demo-style fidelity, and if you’re building a coaching or tutorial channel specifically, our best AI tools for coaching videos page narrows the field further. Start with our full tools directory to filter by minutes, voice options, and API access, and check trial offers before you sign up for a paid tier.
Sources
For platform disclosure rules, see YouTube’s AI content policy guide. For the full repurposing workflow, see Versely’s blog-to-video breakdown.
- YouTube video size and best practices (Riverside)
- YouTube AI content policy guide (Layer3 Labs)
- AI Content Repurposing: Blog to Video Workflow (2026) | Versely
- How to Turn Blog Posts into AI Videos (2026 Guide) | Lychee
FAQ
How Long Should a Blog-to-Video Script Be?
A script should run 150 to 300 words for a video between one and two minutes, condensed from a roughly 2,000 word blog post. Longer source articles need heavier editing, not a longer script.
Which Blog Posts Convert Best Into Video?
Process, framework, and how-to posts convert better than opinion pieces. Prioritize articles with proven organic traffic or high time-on-page over your newest or least-tested content.
Do I Need to Disclose AI-Generated Voices on YouTube?
Yes, if the voice or visual is realistic enough to reasonably mislead a viewer. Proactive disclosure through YouTube Studio is recommended over waiting for a platform-applied label.
How Much Does Blog to Video AI Software Cost?
Pricing and minute caps vary widely by vendor and plan tier. Check current pricing and feature limits directly in Techvideoblog’s tools directory before choosing a plan.
Can One Blog Post Really Produce Three Different Videos?
Yes, but only if you write three separate scripts rather than trimming one script down repeatedly. A tested 60 minute workflow covers extraction, scripting, voice generation, and assembly for all three cuts in one session.