A solo creator’s AI video stack needs one tool per production stage: planning, scripting, recording, editing, captions, and repurposing. Run the whole pipeline once on a real video before you add anything else. Most solo stacks that work are small, cover a single output format well, and keep a human review at every point where judgment matters. Below is how we would build one, what to check before you pay, and where the money goes.
TL;DR
- Pick your main output format first (Shorts, podcast clips, or long-form), then choose one tool per stage instead of one tool that promises everything.
- Let AI handle first assemblies: rough cuts, filler removal, transcripts, captions, reframing. Keep pacing, facts, and final packaging for yourself.
- Budget about $20 to $90 per month per paid tool. Free tiers are for testing, not for a weekly publishing schedule.
- Before you commit, export a real project and inspect resolution, watermark, caption formats, and usage limits.
- Add a tool only when a specific stage is costing you hours. Overlap is the most common reason stacks get expensive.
Table of Contents
- Start with the stages, not the tools
- Decide your main output format first
- Stage by stage: what to put in each slot
- What to look for in any tool you add
- Check these before you combine tools
- What a solo stack costs in the United States
- Keep the stack from overlapping
- Our perspective
- Find the right tools faster
- A starter stack in one afternoon
- FAQ
- Sources
Start with the stages, not the tools
The usual mistake is to start with a tool list. Start with the work. One published workflow template for solo creators splits an end-to-end video into six stages: plan and angle, script and storyboard, shoot or record, edit and polish, captions and accessibility, and distribution and repurposing. It estimates the whole run at 2.5 to 6 hours depending on length and polish.
That gives you a map of where the hours go and where a tool can realistically save them.
| Stage | What AI does well | What stays with you | Rough time (template estimate) |
|---|---|---|---|
| Plan and angle | Generates topic options, groups ideas, drafts titles | Choosing the idea that fits your audience | 15 to 30 min |
| Script and storyboard | First draft with hook, three-part body, call to action | Facts, voice, claims | 30 to 60 min |
| Record | Voiceover, teleprompter, noise cleanup | Delivery, on-camera energy | 30 to 90 min |
| Edit and polish | Transcript-based cuts, silence and filler removal | Pacing, transitions, story | 30 to 90 min |
| Captions | Transcription, timing, styling | Proofreading names and terms | 10 to 30 min |
| Distribute and repurpose | Clip detection, reframing, scheduling | Platform-specific titles and hooks | 15 to 45 min |
The time ranges come from the same swipe.cloud workflow template. Treat them as a starting benchmark and replace them with your own timings after your first run.
Decide your main output format first
A stack for vertical Shorts looks different from a stack for a weekly podcast with video, and both differ from a faceless explainer channel. Write down one sentence: “I publish ___ on ___ every ___.” Everything else follows from it.
- Short-form vertical: the heavy lifting is hook writing, fast cuts, and word-by-word captions. Our guide to the best AI tools for YouTube Shorts covers this in detail.
- Podcast or long talking-head video: the heavy lifting is cleanup and clip extraction. Transcript-based editing and highlight detection matter most. See our roundup of long video to shorts tools.
- Faceless or avatar-led video: voice and avatar generation replace the recording stage. Our AI avatar tools list is the place to start.
If you cover two formats, build the stack for the one that earns attention first and bolt the second on later.
Stage by stage: what to put in each slot
Planning and scripting
A general-purpose AI writing assistant is enough here. Use it to generate five angles for one topic, then pick the one that maps to a single viewer problem. Ask for a script with a hook, a three-part explanation, and a call to action. That is a prompt, not a purchase, so this stage rarely needs a dedicated video tool.
One caution from outs.live’s workflow guide: AI is better assigned to the right stage than used at every stage, and it should not replace fact-checking, audience knowledge, or creative direction. Put a review gate after the script. Read it aloud before you record.
Recording or generating the footage
If you are on camera, a phone and a quiet room beat any generator. If you are not, you have three options: screen recording for tutorials, voiceover over stock or b-roll, or an AI avatar. Our screen recorder pricing breakdown helps if tutorials are your format.
Want an AI version of yourself? Avatar tools typically ask for a short front-facing clip or a few clear photos, then turn a typed script into speech with lip-sync. Check the plan’s watermark and commercial-use terms first, as free avatar tiers commonly limit both. HeyGen’s pricing page lists one example: its Free plan allows 3 videos per month of up to 1 minute with a watermark, while the Creator plan at $29 per month ($24 per month billed annually) adds 1080p export and watermark removal.
Editing
This is the slot where the choice matters most, because it is where you spend the most hours. Two types of editor exist:
- AI-enabled editors are regular timeline editors with AI features on top: captions, filler removal, noise cleanup, reframing. You still drive.
- AI-led editors take plain-language instructions and perform the edit. You review, adjust, and export.
For talking-head and podcast content, a transcript-based editor is usually the fastest route: you delete words in the text and the video cuts follow. For polished or branded work, you want a real timeline you can override. Browse our AI video editors category or the ranked best AI video editors page, and if you are weighing a free-to-start editor against a pro-grade one, our CapCut vs DaVinci Resolve comparison shows how the trade-off plays out. On a phone-first workflow, see the best AI video editors for Android.
A practical rule: accept AI for the first assembly, then spend your own time on pacing and on transitions that support the story. That is where a human edit still separates your video from the rest of the feed.
Captions
Captions are part of the visual design for social video, not an add-on. Evaluate them on accuracy, how easily you can correct a wrong word, word-by-word timing, styling, and whether you can save a caption style and reuse it. If your editor already handles all five, you do not need a separate caption tool. If it does not, our picks for video editors with auto captions and AI caption generators cover the options.
Always proofread names, brand terms, and numbers. Automatic transcription gets ordinary speech right far more often than it gets your product names right.
Repurposing and distribution
Clip generators work in a predictable sequence: transcribe with timestamps, detect and score moments, reframe to 9:16 with speaker tracking, then add synced captions. The output is usually a ranked list of clips. Treat the ranking as a shortlist. You still pick the three that fit your channel and rewrite the opening line of each.

For a hands-on walkthrough of one such workflow, see how to use Opus Clip. Export separate versions for each platform: 1080×1920 for Reels and TikTok, 1920×1080 for YouTube, as the swipe.cloud template suggests. Then schedule posts in one place instead of uploading by hand.
What to look for in any tool you add
When you compare candidates, score them on the same short list:
- Speed to a first cut. How little manual work gets you from raw footage to something watchable?
- Caption quality. Accuracy, timing, styling, reuse.
- Reframing. Does the subject stay in frame across 9:16, 1:1, and 16:9?
- Manual control. Can you override the AI when it guesses wrong?
- Interface fit. Mobile-first, browser-based, or desktop. Pick the one you will actually open on a Tuesday night.
- Removal of tedium, not of decisions. Good tools remove filler and silence. They do not choose your story for you.
Then, before you pay, run the checks that decide whether tools work together.
Check these before you combine tools
A tool that looks great alone can fail inside a stack. Coursiv’s comparison of AI video editors recommends checking resolution, frame rate, aspect ratio, watermark, codec, subtitle formats, usage limits, upload retention and deletion, and integrations, then testing a representative project and inspecting the final export.
In practice, that becomes a ten-minute test per tool:
- Export a real 60-second clip from your own footage, not the demo file.
- Open the file and look for a watermark, soft resolution, or captions that drifted out of sync.
- Check whether the caption file can be exported in a standard format, so you are not locked into one editor.
- Read the retention policy for uploads if your footage includes clients, guests, or unreleased material.
- Confirm that the output of tool A imports cleanly into tool B without re-encoding.
Usage limits are the other trap. Credits, export minutes, and retries can multiply what a plan really costs. Our write-up on how retries can multiply AI video editor pricing 2 to 3 times shows how to estimate your real monthly spend before you subscribe.
What a solo stack costs in the United States
Pricing varies widely. According to a June 2026 pricing guide, AI video generators run from $0 to $200 or more per month, most credible paid plans cluster between $20 and $90 monthly, and annual billing typically discounts 15 to 35 percent. The same guide notes that free tiers suit testing and occasional single clips, not ongoing production.
That makes a rough budget easy to sketch. A lean solo stack often looks like this:
| Slot | Typical approach | Cost pattern |
|---|---|---|
| Planning and script | General AI writing assistant | Free or one low-cost plan |
| Recording | Phone, mic, screen recorder | One-time hardware, often free software |
| Editing and captions | One AI-enabled editor | One paid plan |
| Repurposing | One clip generator | One paid plan, or skip until you have a long-form backlog |
| Scheduling | One scheduler | Free or low-cost tier |
The point is the count. Two paid tools is a stack. Five paid tools with overlapping caption features is a leak. If you are just starting, our list of free AI video editors shows how far you can get before paying anything, and the tools directory lets you check each tool’s verified pricing.
Keep the stack from overlapping
Overlap is the quiet cost. Many editors now include captions, many clip generators include editing, and many avatar tools include scripting. When two subscriptions cover the same job, you pay twice and maintain two workflows.
This is the method we recommend:
- List every stage of your pipeline.
- Write down which tool does each stage and which other tool could also do it.
- Cancel or avoid the duplicate that you use less.
- Run the full pipeline on one video, noting every manual step and every export that failed.
- Only then optimize, and only the slowest stage.
The stack is not a one-time decision. It changes as your format, volume, and budget change. Reviewing it quarterly is enough. If you want a wider frame for choosing a practical combination of AI content tools, mapping each tool type to a job first keeps you from buying by feature list.
A related point from small-team practice: time runs out long before the budget for another editor appears. The useful move is to automate the parts of production that do not need a person and keep a person on the parts that do. That means review gates at the script, the voiceover, the rough cut, the captions, and the final packaging, as outs.live’s guide lays out.
Our perspective
We built TechVideoBlog because creators kept hitting the same wall: too many tools, each with marketing copy that sounds identical. Our approach is to test tools inside real workflows, verify pricing ourselves, and rank on use-case fit rather than paid placement.
For a solo creator, that matters more than any feature list. A tool that is brilliant at generating clips but awkward to export from will cost you more time than it saves. When we review a tool, we look at how it behaves across a whole pipeline: how fast you reach a first cut, how clean the captions are, whether the export holds up, and whether the pricing stays predictable once you hit real usage.
Our advice is to start with the stage that eats the most of your week, pick one tool for it from a category page where the criteria are visible, and run a full video through before you add the next one. Most solo creators we see end up happiest with a stack of two or three tools they know well, not eight they half use.
H
Find the right tools faster
If you are ready to shortlist, our Best AI Video Tools category groups tools by job, with hands-on reviews, verified pricing, and side-by-side comparisons. For a head-to-head on generation tools, see Kling vs Runway.
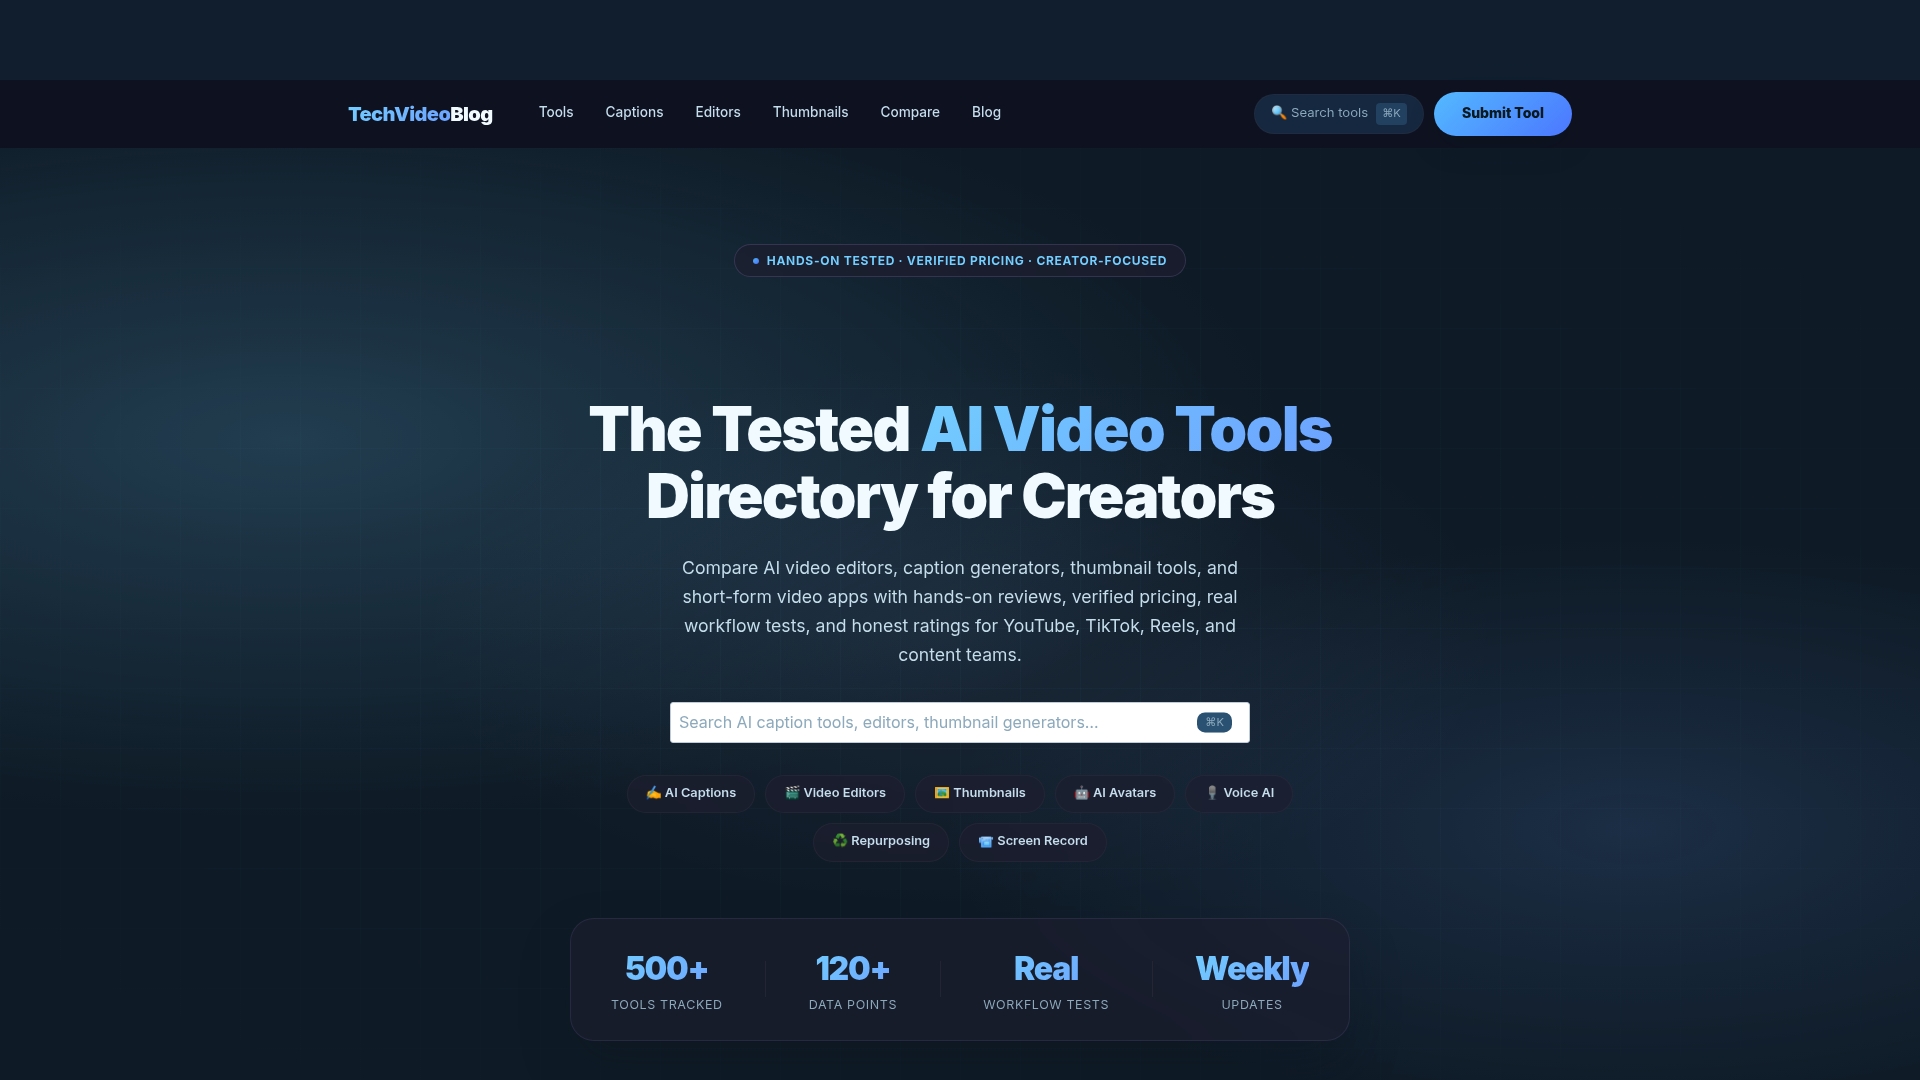
Browse the full tool directory to filter by editors, caption generators, repurposing tools, voice cloning, avatars, and screen recorders.
A starter stack in one afternoon
Here is a sequence you can finish in one sitting, built on the stages above:
- Choose one idea that solves one viewer problem (15 minutes).
- Generate a script with a hook, three points, and a call to action. Edit it by hand and read it aloud (45 minutes).
- Record or generate the footage (45 minutes).
- Run it through your editor’s first-pass tools: silence and filler removal, auto captions (30 minutes).
- Review the cut for pacing. Fix the first five seconds manually (20 minutes).
- Export a horizontal master and a vertical version. Inspect both for watermark and caption drift (15 minutes).
- Schedule the posts and note which step was slowest.
That slowest step is where your next tool, or your next upgrade, should go.
FAQ
What is the best AI video tool for a solo creator?
There is no single best tool, because the answer depends on your format. Podcasters and talking-head creators usually get the most from a transcript-based editor plus a clip generator. Faceless channels lean on voice and avatar tools. Start from the category pages in our directory and match the tool to your main output.
Can I build an AI video stack for free?
You can cover a lot with free tiers, but not a steady publishing schedule. Free plans typically add watermarks, lower resolution, or small monthly allowances. They work well for testing a workflow before you pay for the one or two tools you use every week.
How many tools does a solo creator actually need?
Two or three is a good target: one for writing and planning, one for editing and captions, and optionally one for repurposing long videos into clips. Add a tool only when a specific stage is taking too many hours.
How can I create an AI video of myself?
Avatar tools generally need a short front-facing recording or a few clear photos, then turn a typed script into a talking video. HeyGen’s AI Yourself page describes a 15-second clip and support for more than 175 languages. Check the plan’s watermark and commercial-use terms before publishing.
Sources
- AI Video Workflow Template for Solo Creators
- AI Video Workflow for Creators: A Practical Guide
- Best AI Video Editing Tools Compared
- AI Video Generator Pricing Answered
- HeyGen pricing
- HeyGen AI Yourself